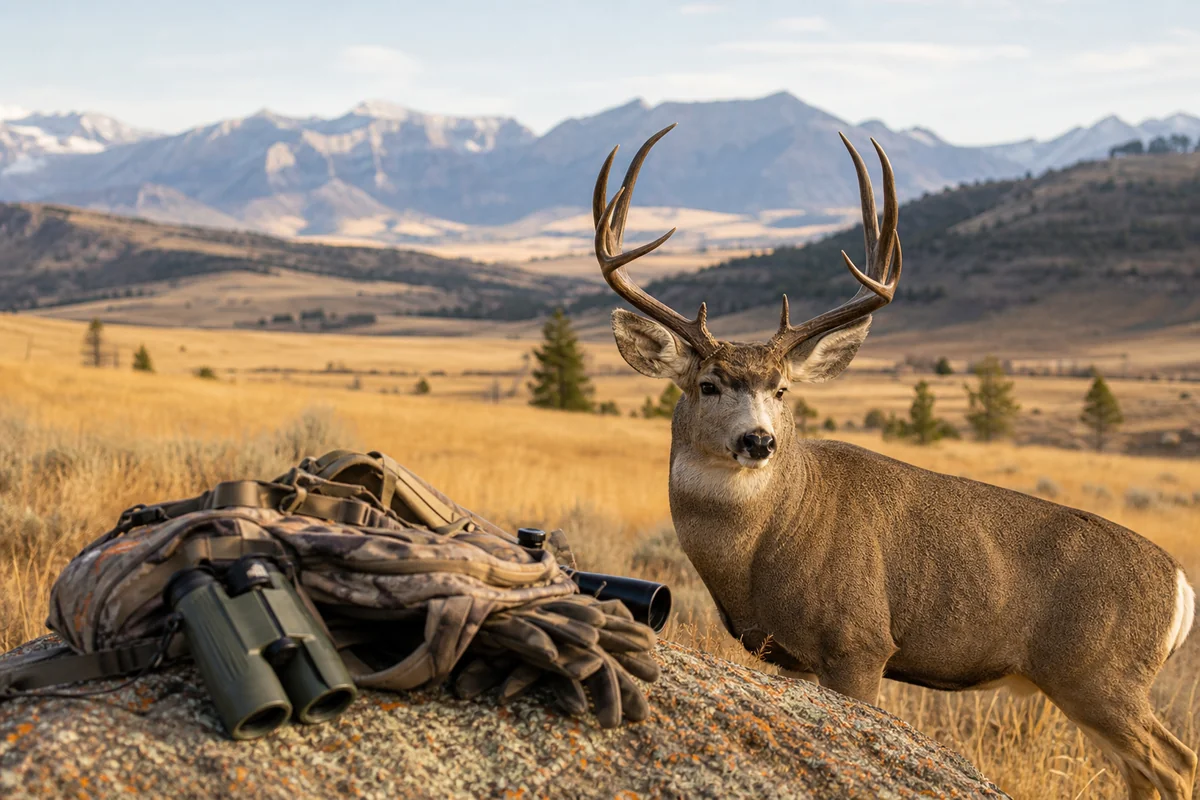
The morning I finally drew my first Montana limited-entry deer tag after three years of applying, I nearly spilled my coffee all over my keyboard—that email notification felt like winning a small lottery, and honestly, it kind of was.
If you’re planning a deer hunting trip to Big Sky Country, understanding the tag system is absolutely critical to your success, and I’ve learned these lessons through both triumph and frustration over multiple Montana hunting seasons.
Whether you’re a resident who’s hunted these mountains your whole life or a nonresident dreaming of your first Montana mule deer, this guide breaks down everything I wish someone had told me before I started navigating the state’s deer tag process as part of my broader Montana hunting guide journey.
- Montana offers both general deer tags (over-the-counter for residents) and limited-entry tags requiring applications and drawings
- Nonresidents must apply for deer combo licenses by April 1 deadline—miss it and you’re out for the year
- General deer tags allow one deer statewide; species (mule deer vs whitetail) depends on hunting district
- Resident deer license costs around $20; nonresident deer combo runs approximately $558
- Building preference points through the bonus point system significantly improves drawing odds for premium units
- B tags for antlerless deer are often easier to obtain and provide additional hunting opportunities
Understanding Montana’s Deer Tag System: What I Had to Learn the Hard Way
When I first started hunting Montana, I assumed getting a deer tag would be straightforward—just buy one and go hunt, right? I couldn’t have been more wrong, especially as a nonresident.
Montana’s deer tag system operates on multiple levels, and understanding each layer will save you time, money, and disappointment. The state divides tags into general licenses and special permits, each with different rules, costs, and application processes.
General deer licenses are the foundation of deer hunting here. For residents, these are available over-the-counter and allow the harvest of one deer during the general season.
Nonresidents face a different reality entirely. The state caps nonresident deer licenses through a quota system, meaning you need to apply during the spring drawing period and hope your name gets pulled.
Types of Montana Deer Tags Available
After spending considerable time studying the regulations and talking with FWP biologists during my visits to regional offices, I’ve come to understand the different tag categories intimately.
General Deer License (A Tag)
The general deer license—commonly called the “A tag”—is your bread-and-butter deer hunting authorization in Montana. This tag allows one deer during the general rifle season, typically running from late October through late November.
What species you can harvest depends entirely on which hunting district you’re in. Some districts are “either-sex” for both mule deer and whitetail, while others restrict you to antlerless deer only or one species specifically.
Last fall, I hunted District 411 near Roundup, which was either-sex for whitetail but antlerless-only for mule deer. I watched a gorgeous 4×4 muley walk by on day three, knowing I couldn’t legally take him with my general tag in that unit.
Understanding these district-specific regulations before you buy your tag is crucial. The Montana deer hunting regulations page breaks this down in detail, and I reference it constantly when planning my hunts.
B Tags (Antlerless Deer)
B tags authorize the harvest of additional antlerless deer in specific hunting districts. Montana uses these tags as population management tools, and availability varies dramatically by region and year.
During my time hunting the Bitterroot Valley, B tags were readily available and provided excellent opportunities to fill the freezer. Some years, I’ve seen unlimited B tags for certain districts, while others have strict quotas.
The application process for B tags runs separately from the general license drawing. Residents can often purchase them over-the-counter once general season opens, while nonresidents typically need to apply during the spring period.

Special Limited-Entry Permits
Here’s where things get competitive. Montana’s most coveted deer hunting opportunities come through limited-entry permits for specific hunting districts.
These permits often provide access to trophy-quality bucks in areas with controlled hunting pressure. Units like the Missouri Breaks and certain portions of Region 4 and Region 7 have legendary reputations for producing giant mule deer.
Drawing these tags can take years of building Montana preference points. I met a hunter in Lewistown last October who’d waited 11 years to draw his coveted Breaks mule deer tag—and he filled it on a 190-class buck that made the wait worthwhile.
Nonresident Deer Combo License: The Full Breakdown
If you’re coming from out of state, the nonresident deer combo license is likely what you need. After going through this process multiple times, I can walk you through exactly what to expect.
The deer combo license includes your general deer tag, conservation license, and associated fees bundled together. For the current license year, expect to pay approximately $558 for the complete package—a significant investment that reflects the quality of Montana’s deer hunting.
You can find the full cost breakdown for all license types on our Montana hunting license costs page. Those fees add up when you’re also considering an elk tag or looking into Montana antelope hunting.
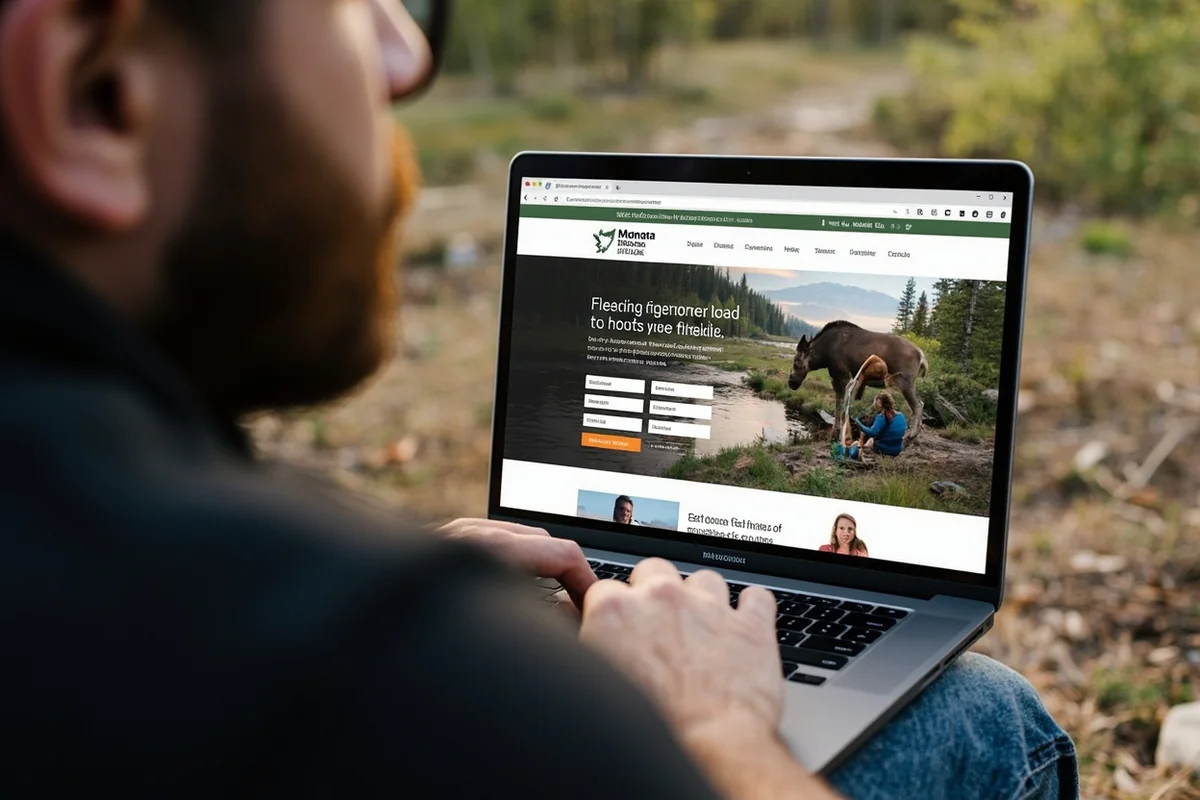
The Application Process Step-by-Step
Here’s the application timeline that I follow religiously:
March 15 through April 1: The nonresident deer/elk application window is open. This is NOT when you should be scrambling to apply—you should have your application ready to submit on opening day.
During my first application attempt, I waited until March 30 to apply and encountered website slowdowns that nearly cost me my submission. Now I apply within the first week every single time.
What you’ll need to apply:
- Valid government ID information
- Hunter education certificate number (or proof of previous license)
- First and second choice hunting district selections
- Payment method for non-refundable application fee plus license cost if drawn
- Bonus point purchase decision (yes/no)
Mid-May through June: Drawing results are typically posted. I’ve found that checking the FWP website obsessively doesn’t make results come any faster, but I do it anyway.

Resident vs. Nonresident: Key Differences That Matter
The contrast between resident and nonresident deer hunting opportunities in Montana is stark, and understanding these differences helped me adjust my expectations and strategy.
| Factor | Resident | Nonresident |
|---|---|---|
| General Deer License | Over-the-counter, ~$20 | Drawing required, ~$558 combo |
| Application Deadline | None for general tags | April 1 annually |
| Tag Availability | Unlimited general tags | Quota-limited |
| Limited Entry Drawing | Separate application | Combined with general |
| B Tag Access | Often over-the-counter | Application required |
I’ve hunted as both (after temporarily living in Billings for work), and the resident experience is dramatically more flexible. As a nonresident now, I’ve learned to plan everything around that April 1 deadline like my hunting season depends on it—because it does.
Where Your Deer Tag Is Valid: Hunting Districts Explained
Montana divides its landscape into numbered hunting districts, and your tag authorization depends entirely on which district you’re hunting. This system seemed overwhelming when I first encountered it, but it’s actually logical once you understand the layout.
The state contains seven FWP regions, each subdivided into multiple hunting districts. My Montana deer hunting guide covers specific districts in detail, but here’s the overview you need for tag planning.
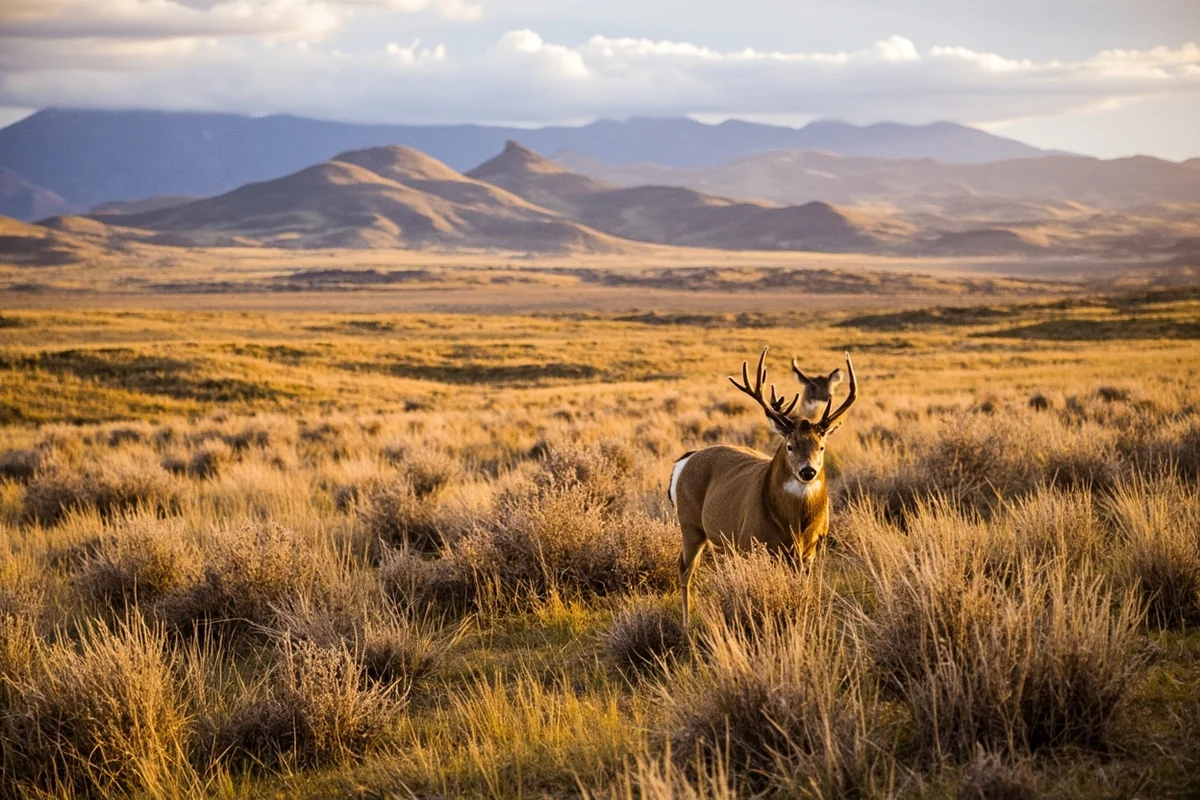
Region 4: The Missouri Breaks and Beyond
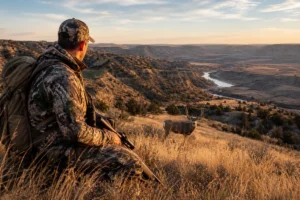
When I think of trophy mule deer country, Region 4 comes to mind first. The breaks of the Missouri River harbor some of the best mule deer genetics in North America.
Districts like 410, 411, and 417 offer different opportunities and regulations. During my recent trip to this area, I was struck by how the landscape transitions from agricultural prairies to deeply carved river breaks within just a few miles.
Limited-entry permits for premium break country districts require years of point accumulation. However, some general license districts in this region still produce quality bucks if you’re willing to hike where others won’t.
Region 1 and 2: Western Montana Whitetail Heaven
If Montana whitetail hunting is your goal, the western regions deliver exceptional opportunities. The river bottoms, agricultural edges, and mixed forests create perfect whitetail habitat.
I’ve spent many November mornings sitting in river bottom timber near Missoula, watching whitetail bucks cruise for does. The general tag is valid for whitetail in most of these districts, making it accessible hunting for tag holders.
The Clark Fork, Bitterroot, and Flathead valleys all offer solid whitetail populations. Public access can be challenging in some areas, but hunting on Montana state land opens millions of acres if you know where to look.
Region 7: Southeast Montana’s Mixed Bag
I’ve grown to appreciate Region 7’s diversity over my hunting career here. You’ll find both mule deer and whitetail in huntable numbers, with some of the best public land access in the state.
The Custer National Forest and surrounding BLM lands offer walk-in opportunities that produce year after year. Last season, I watched a hunter from Texas fill his general tag on a beautiful 160-class muley on public land near Ekalaka.
Timing Your Application: Deadlines That Make or Break Your Hunt
I cannot stress this enough: Montana’s deer tag application deadlines are absolutely firm. Missing them means sitting out the entire season, and I’ve watched hunting buddies learn this lesson the hard way.
Spring Application Period
The deer/elk combo application window typically opens March 15 and closes April 1. Set calendar reminders for February to start preparing your application strategy.
During this window, you’ll select:
- Your first-choice hunting district
- Your second-choice hunting district
- Whether to purchase bonus points if unsuccessful
- Any B tags you want to apply for
I spend considerable time analyzing drawing odds before finalizing my choices. The FWP website publishes previous year’s drawing statistics, showing exactly how many applicants competed for each permit.
The Bonus Point Decision
Here’s where strategy comes in. If you don’t draw your first choice, you can either accept your second choice (if drawn) or decline and bank a bonus point for next year.
I’ve adopted a hybrid approach: I apply for a trophy-quality limited entry as my first choice, knowing I likely won’t draw, then select a general license district as my second choice to ensure I’m hunting that year.
This way, I accumulate points toward my dream tag while still getting into the field annually. It took me a few years to figure out this system, but it’s made my Montana hunting much more consistent.
How to Actually Get a Tag: Improving Your Drawing Odds
After several years of applying and analyzing results, I’ve developed strategies that have improved my drawing success rate. Here’s what works.
Understand the Point System
Montana’s bonus point system isn’t a straight preference point system where the highest point holders always draw first. Instead, bonus points are added to the random drawing pool, improving—but not guaranteeing—your odds.
If you have five bonus points, you get six chances in the drawing (five points plus your application). Someone with zero points still gets one chance and could theoretically draw over you.
This system maintains opportunity for new applicants while rewarding loyalty. I appreciate this balanced approach, even when I get drawn over by a first-time applicant.
Choose Districts Strategically
Not all hunting districts draw equally. Trophy units with limited permits might have 50 applicants per tag, while less-famous districts draw 80% or higher.
During my planning last winter, I identified several overlooked districts that offer quality hunting without the drawing competition. These “sleeper” units don’t make magazine covers, but they’ve put deer on the ground for me consistently.
Your strategy should match your goals. If you want any deer for the freezer, apply for high-odds districts. If you’re after a wall-hanger, accept lower odds for premium units.
Consider Combining Hunts
Since you’re investing in the application process and travel costs, maximizing your Montana time makes sense. I typically plan my deer hunt alongside other opportunities.
Archery seasons open earlier than rifle, extending your potential hunting window. The Montana muzzleloader season offers another option with different timing.
I’ve also combined deer hunts with upland bird hunting or Montana duck hunting to fill non-productive big game days. Even a squirrel hunting break can keep things interesting when deer aren’t moving.
Tag in Hand: What Comes Next
Drawing a tag is just the beginning. The preparation phase between drawing and opening day determines your success more than luck ever will.
Scouting Requirements
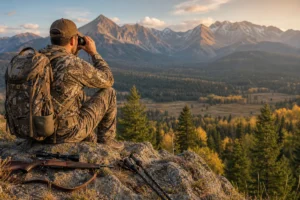
Montana’s vastness rewards advance scouting. I make at least one pre-season trip to any new hunting district, even if it means significant driving.
During a summer scouting trip last year, I identified bedding areas, feeding patterns, and access points that directly led to my fall success. The deer weren’t in the same exact spots, but understanding the terrain and habitat paid dividends.
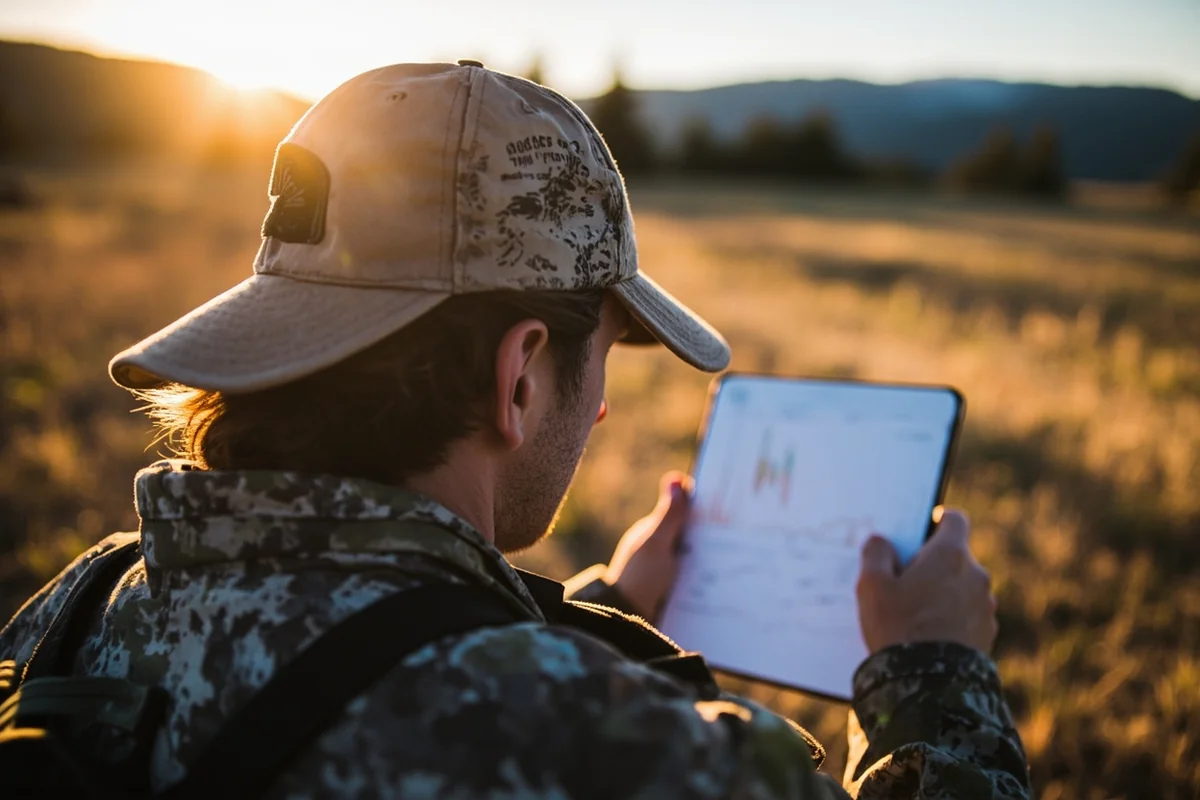
Study topographic maps, satellite imagery, and FWP’s hunting access maps before boots hit ground. The MyFWP app provides excellent offline mapping that I rely on constantly.
Understanding Your Tag Restrictions
Your specific tag dictates what you can legally harvest. Read the fine print carefully—I’ve seen hunters make honest mistakes that cost them dearly.
Check whether your district allows:
- Buck only, antlerless only, or either sex
- Mule deer, whitetail, or both
- Specific antler point restrictions
- Weapon restrictions for certain areas
The Montana hunting regulations handbook should be in your pack at all times. I’ve referred to mine mid-hunt more than once when a situation required clarification.
Physical Tag Management: Don’t Mess This Up
Once you’ve got deer on the ground, proper tag handling becomes critical. Montana takes tag management seriously, and violations carry significant penalties.
Tagging Your Harvest
Immediately upon harvesting your deer, you must notch and attach your tag. The carcass tag portion stays with the animal until processing.
I carry a small punch specifically for notching tags—trying to use a knife in cold conditions has caused me problems before. Notch the correct month and day clearly.
Your tag must remain attached through transport. I’ve seen hunters get checked at gas stations, restaurants, and random roadside encounters. Game wardens in Montana are professional and thorough.
Reporting Requirements
Montana requires harvest reporting within specific timeframes. The telephone and online reporting systems make this straightforward.
I complete my harvest report the same day when possible, while details are fresh. The information you provide helps FWP manage populations effectively for future seasons.
Some limited-entry permits have additional reporting requirements. Check your specific permit conditions—some require mandatory check stations.
Costs Beyond the Tag: Budgeting for Your Hunt
The tag price is just one component of your Montana deer hunt budget. After tracking my expenses over multiple trips, here’s what to realistically expect.
Beyond your base Montana hunting license and deer tag, budget for:
- Conservation license: ~$10 (required for all hunters)
- Habitat stamps and fees: varies by activity
- Block Management access: free but sometimes requires signup
- Lodging: $60-150/night depending on location and quality
- Food and fuel: varies significantly by trip length
- Processing: $85-150 if using commercial processor
I’ve learned to budget approximately $1,500-2,500 for a weeklong nonresident deer hunt including all costs. Your mileage will vary based on travel distance and accommodation choices.
Advanced Tag Strategies I’ve Learned
After years of hunting Montana, I’ve picked up strategies that most first-timers don’t know about.
The Leftover List
After initial drawings, Montana releases a leftover list of unfilled permits. These are available first-come, first-served and can include quality opportunities.
I’ve grabbed leftover B tags that provided excellent late-season hunting. The key is checking the FWP website immediately when leftovers release—popular permits disappear within hours.
Landowner Vouchers
Some Montana landowners receive special permits they can transfer to hunters. These vouchers provide access to private land and sometimes offer tags for areas otherwise unavailable.
I’ve connected with landowners through Block Management relationships over the years. Building these connections takes time but can open doors that remain closed to most hunters.
Combining Species Strategically
Smart tag planning considers multiple species. While focused on deer, I also apply for Montana bear tags that overlap geographically.
If you’re a truly adventurous hunter, the Montana bighorn sheep hunting draws offer once-in-a-lifetime opportunities, though the odds are astronomical. The Montana buffalo hunting program is another unique opportunity requiring separate applications.
Even when deer hunting slows, having a Montana wolf tag in my pocket has added excitement to cold morning sits. The Montana swan hunting opportunity is another unique option for those interested in rare permits.
Common Mistakes I’ve Made (So You Don’t Have To)
My learning curve in Montana has included some embarrassing moments. Here’s what to avoid.
Mistake #1: Applying too late in the window. Website traffic on deadline day can cause problems. Apply early and confirm your submission.
Mistake #2: Not understanding district-specific regulations. I once passed on a legal deer because I misread the regulations for that unit. Study your specific district thoroughly.
Mistake #3: Ignoring B tag opportunities. I initially focused only on A tags and missed out on additional hunting days. B tags extend your season and put more meat in the freezer.
Mistake #4: Underestimating Montana distances. This state is massive. I’ve driven three hours to reach hunting spots that looked “close” on the map.
Mistake #5: Not checking access before hunting. Montana’s checkerboard land ownership means public and private sections often intermingle. Verify access before you hunt.

Making the Most of Your Montana Deer Tag
Every deer tag represents an opportunity that thousands of hunters competed for. Once you’ve got one, maximize the experience.
The Montana shoulder season can extend your hunting opportunities beyond the main season in certain districts. This is particularly valuable if you haven’t filled your tag during the general season.
I approach each Montana deer hunt with gratitude for the opportunity and respect for the resource. This state offers deer hunting experiences that are increasingly rare across North America—vast public lands, huntable populations, and genuine wilderness character.
Whether you’re chasing river bottom whitetails or ridge-running mule deer, your Montana deer tag opens doors to unforgettable experiences. The process of getting that tag might seem complicated at first, but it becomes second nature after a season or two.
Start your application planning now, mark those deadlines, and I’ll see you in Big Sky Country when the aspens turn gold.
Frequently Asked Questions
How much does a Montana deer tag cost for out-of-state hunters?
A general deer license for non-residents costs $527 in Montana, plus a $10 base hunting license and a $10 preference point if you’re applying through the draw system. I recommend budgeting around $550-600 total for your deer tag fees, as prices can adjust annually.
When is the application deadline for Montana deer tags?
The Montana deer tag application deadline typically falls in early June, with results announced in mid-July. I always recommend applying by May to avoid any last-minute issues, and remember that leftover tags go on sale in mid-August for those who missed the draw.
What is the best time to hunt deer in Montana?
The general rifle season runs from late October through late November, which I consider prime time for deer hunting in Montana due to the rut activity. Archery season starts in early September and offers less crowded conditions, while the weather is still manageable with temperatures ranging from 20-50°F.
Can out-of-state hunters buy over-the-counter deer tags in Montana?
Yes, Montana offers over-the-counter general deer licenses for non-residents that don’t require a draw, making trip planning much easier. These tags are valid statewide for antlerless white-tailed deer, though mule deer and antlered whitetail opportunities may require applying through the permit draw system.
What gear should I bring for a Montana deer hunting trip?
Pack layered clothing for temperatures ranging from single digits to 50°F, quality waterproof boots for hiking rugged terrain, and optics rated for low-light conditions. I never head out without a reliable GPS unit since cell service is spotty across Montana’s 147,000 square miles, plus emergency supplies for backcountry hunting.
How far in advance should I plan a Montana deer hunting trip?
Start planning your Montana deer hunting trip 8-12 months ahead, especially if you need to enter the license draw or book an outfitter during peak season. Lodging near popular hunting districts like Region 3 or Region 7 fills up quickly, and I’ve found that reserving accommodations in towns like Bozeman or Miles City by late summer is essential.
Do I need a guide to hunt deer in Montana as a non-resident?
Montana does not require non-resident deer hunters to hire a guide, unlike some western states’ requirements for elk or bighorn sheep. However, if you’re unfamiliar with the 30+ million acres of public land, hiring a local outfitter ($300-500/day) can significantly increase your success rate and help you navigate access points.
Sources