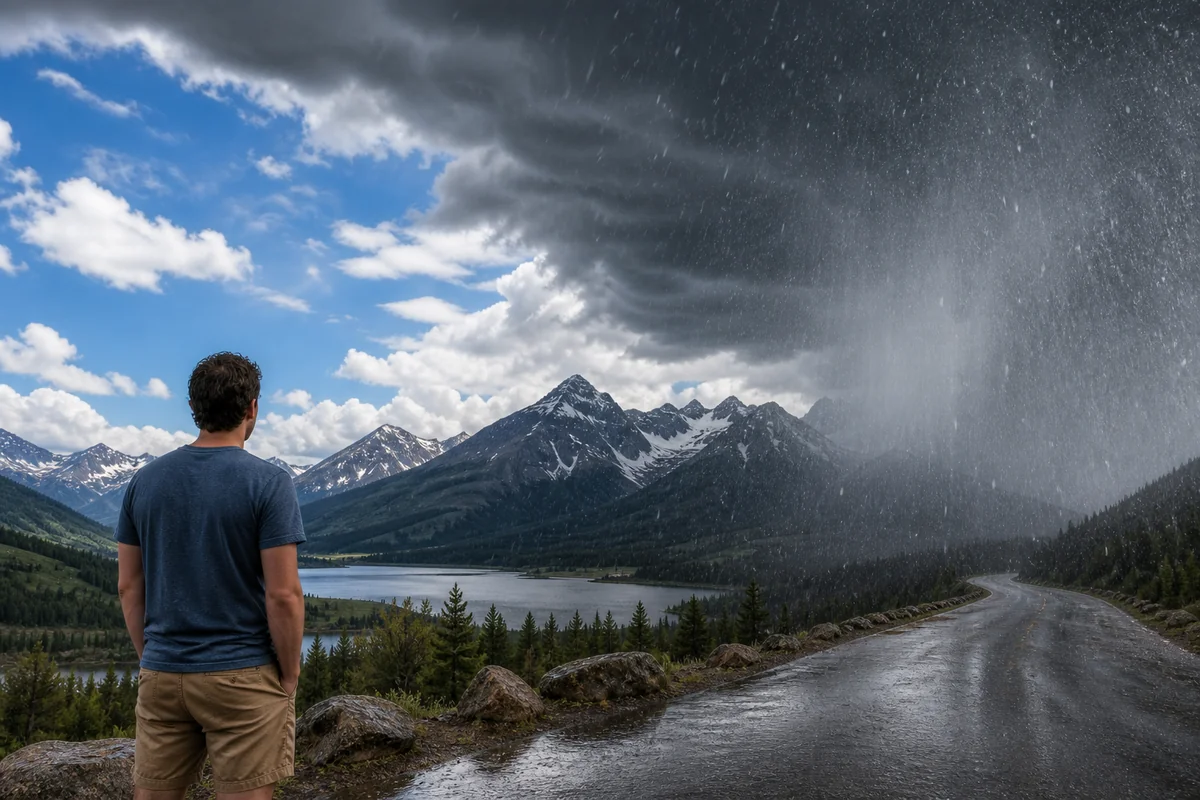
I’ll never forget standing outside Old Faithful in Yellowstone last February, watching my breath freeze mid-air while tourists around me shivered uncontrollably in their cotton hoodies and thin leggings—some literally crying from the cold at -15°F.
That moment crystallized everything I’ve learned about dressing for Montana winters: the right clothing isn’t just about comfort, it’s about safety, and getting it wrong can genuinely ruin your trip or worse.
Understanding the Montana Weather Guide basics is essential before you start packing, because this state demands respect when temperatures plummet.
- Layer with merino wool or synthetic base layers—never cotton
- Invest in a quality down or synthetic puffy jacket rated to at least -20°F
- Windproof outer shell is non-negotiable in Big Sky Country
- Protect extremities first: insulated boots, mittens over gloves, and a balaclava
- Budget around $400-800 for proper winter gear if starting from scratch
- Dress for 20-30 degrees colder than the forecast due to wind chill

Why Montana Winter Demands Serious Clothing
During my first Montana winter living in Bozeman, I made every rookie mistake imaginable. I thought my Pacific Northwest rain jacket and fleece combo would suffice—it absolutely did not.
Montana’s winters are a different beast entirely. We’re talking about a state where temperatures regularly drop below -20°F, and where the coldest recorded temperature in the lower 48 states happened right here at Rogers Pass: -70°F in 1954.
The combination of extreme cold, relentless wind, and intense high-altitude sun creates conditions that demand a strategic approach to clothing. When I spoke with a ranger at Glacier National Park last winter, she told me they see multiple cases of frostbite every season—almost always from visitors who underestimated what they needed to wear.
Understanding Montana’s Unique Winter Challenges
What makes Montana particularly tricky is the variability. Last January, I experienced a 60-degree temperature swing in Billings over just three days—from -25°F to 35°F and back down again.
The state also experiences something called “cold pooling” in its valleys. Cold air sinks and settles in places like the Flathead Valley, Missoula, and Helena, creating inversions where valley floors are significantly colder than mountain elevations.
If you’re curious about why Montana gets so cold, the short answer involves its northern latitude, high elevation, and position in the path of Arctic air masses that sweep down from Canada unobstructed.
The Three-Layer System: Your Foundation for Warmth
Every piece of advice I’m about to give you stems from one fundamental principle: layering. After years of trial and error, I’ve refined my approach to what actually works in Montana’s punishing winters.
The three-layer system isn’t just outdoor industry marketing—it’s genuinely the most effective way to stay warm while maintaining flexibility as conditions change throughout the day.
Base Layer: The Most Important Layer You’ll Buy
Your base layer sits against your skin, and its job is moisture management. When I first moved here, I didn’t understand why my cotton long johns left me feeling clammy and then freezing. Cotton absorbs sweat and holds it against your body—a recipe for hypothermia.
I now exclusively wear merino wool base layers for Montana winters. My go-to brands are Smartwool and Icebreaker, and I’ve been wearing the same heavyweight Smartwool tops for four winters now.
For temperatures above 10°F, I reach for midweight merino (around 250g/m²). When it drops below zero, I switch to heavyweight (300g/m² or more). On my coldest day in West Yellowstone last winter (-38°F with wind chill), I wore expedition-weight merino and was genuinely comfortable.
Synthetic base layers from brands like Patagonia Capilene work well too and dry faster than wool. However, they develop odor more quickly—a real consideration if you’re doing a multi-day trip with limited laundry access.
Base Layer Recommendations by Activity
| Activity Level | Best Base Layer | My Top Pick |
|---|---|---|
| Stationary (watching wildlife, photography) | Heavyweight merino (300g+) | Smartwool Intraknit Merino 250 |
| Moderate (snowshoeing, casual skiing) | Midweight merino/synthetic (200-250g) | Patagonia Capilene Midweight |
| High output (backcountry skiing, hiking) | Lightweight synthetic (150g) | Patagonia Capilene Cool Lightweight |
Mid Layer: Your Insulation Engine
The mid layer provides the actual warmth by trapping air close to your body. I’ve tested dozens of options over the years, and my current system depends heavily on conditions.
For most Montana winter days (0°F to 25°F), I wear a down puffy jacket as my mid layer. My Arc’teryx Cerium has been incredibly reliable, though the Patagonia Down Sweater offers similar performance at a lower price point.
Down has the best warmth-to-weight ratio, but it loses insulating ability when wet. For activities where I’ll sweat heavily or when precipitation is likely, I switch to synthetic insulation like Primaloft. My Patagonia Nano Puff has been a workhorse for snowshoeing trips because it keeps insulating even when damp.
I also keep a heavyweight fleece in rotation. Fleece is incredibly versatile—it breathes well during activity, dries quickly, and works as a standalone layer during milder periods. My Patagonia R2 TechFace has survived countless adventures.
When to Double Up on Mid Layers
On a recent trip to photograph severe Montana winter weather conditions near Browning, temperatures hit -30°F with wind. I wore both a lightweight fleece and my down puffy as mid layers, and that combination was essential.
The fleece went directly over my base layer, providing initial insulation and wicking moisture away from the base layer. The down puffy went over the fleece, trapping even more warm air.
This double mid-layer approach is my go-to for any day forecast below -10°F or when I’ll be stationary for extended periods.
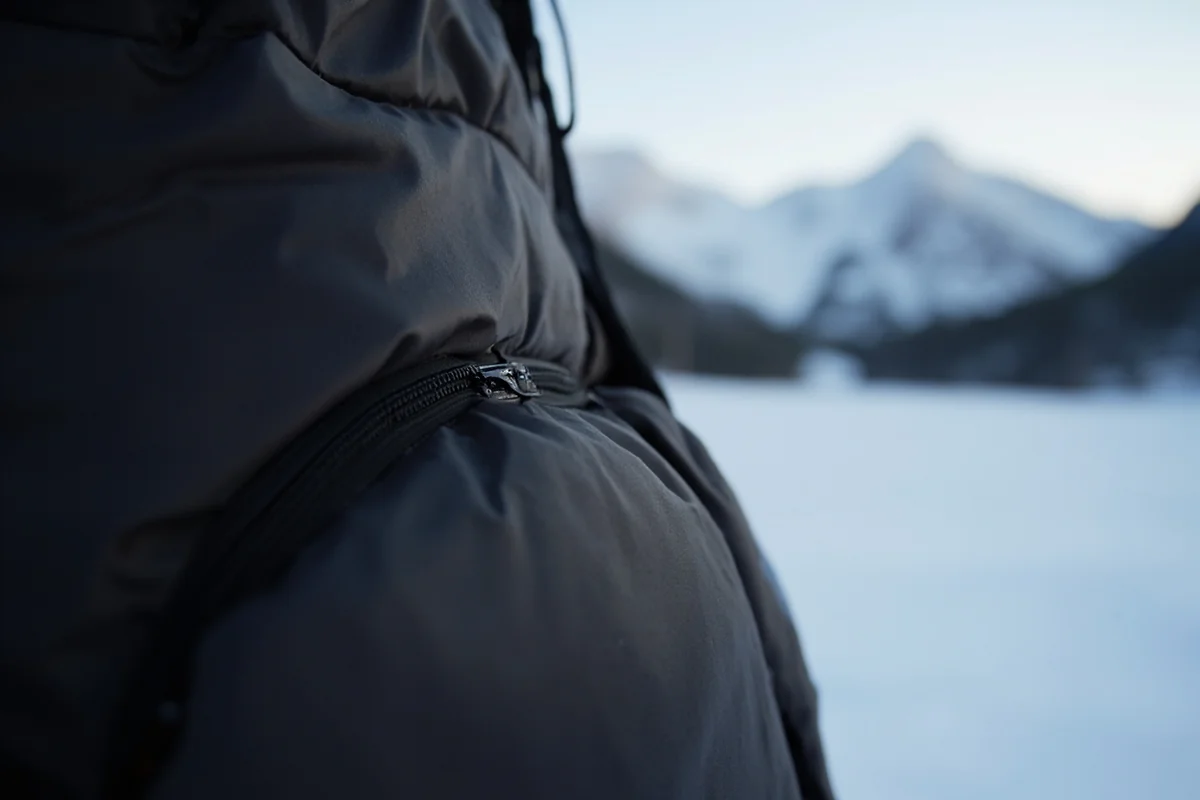
Outer Layer: Your Shield Against the Elements
Your outer layer—often called a shell—protects everything underneath from wind, snow, and moisture. This is where many visitors make critical mistakes.
A shell doesn’t need to provide warmth. Its job is to block wind and precipitation while allowing moisture vapor from sweat to escape. I’ve seen too many people buy heavy insulated ski jackets that leave them either sweating during activity or still cold because the insulation isn’t adaptable.
Hard Shell vs. Soft Shell: Which You Need
I own both types and use them for different purposes.
Hard shells are fully waterproof and windproof, made from materials like Gore-Tex. They’re your best defense against Montana’s frequent snow squalls and bitter wind. My Arc’teryx Beta AR has been worth every penny during blizzard conditions.
Soft shells are more breathable and stretch better but offer only water resistance rather than full waterproofing. I prefer them for high-output activities like skiing or winter hiking when breathability matters more than storm protection.
For most Montana winter visitors, I recommend a quality hard shell. Conditions change rapidly here—you might start a hike in sunshine and face sideways snow an hour later. A waterproof shell gives you that security.
Wind Protection Is Non-Negotiable
I cannot stress this enough: Montana is seriously windy. This isn’t a gentle Pacific breeze—we’re talking sustained 30-40 mph winds that can make a 10°F day feel like -25°F.
Last February, I stood at the Rocky Mountain Front near Choteau watching the wind rip across the plains. My wind-blocking outer layer was the only thing standing between me and genuine danger.
Even if you buy nothing else, make sure your outer layer is windproof. A wind-permeable shell renders everything underneath nearly useless when the gusts hit.
Protecting Your Extremities: Where Frostbite Strikes First
Your core might feel fine while your fingers and toes are actively freezing. Your body prioritizes keeping vital organs warm by reducing blood flow to extremities—which is why hands, feet, ears, and nose are most vulnerable to frostbite.
Head and Face Protection
You lose significant heat through your head, and your face is constantly exposed to wind. I’ve developed a layered approach for head protection that works across conditions.
My base is always a thin merino wool beanie. I have several Smartwool beanies that fit under helmets and hoods while providing core warmth. For everyday winter walking around Bozeman or Helena, this is often enough.
When temperatures drop below 10°F, I add a neck gaiter or buff that can pull up over my nose and mouth. Breathing in air below -10°F is genuinely painful and can damage your lungs over time.
For extreme cold, I switch to a full balaclava. On that -38°F day in West Yellowstone, only my eyes were exposed, and even my sunglasses fogged up from the temperature differential.
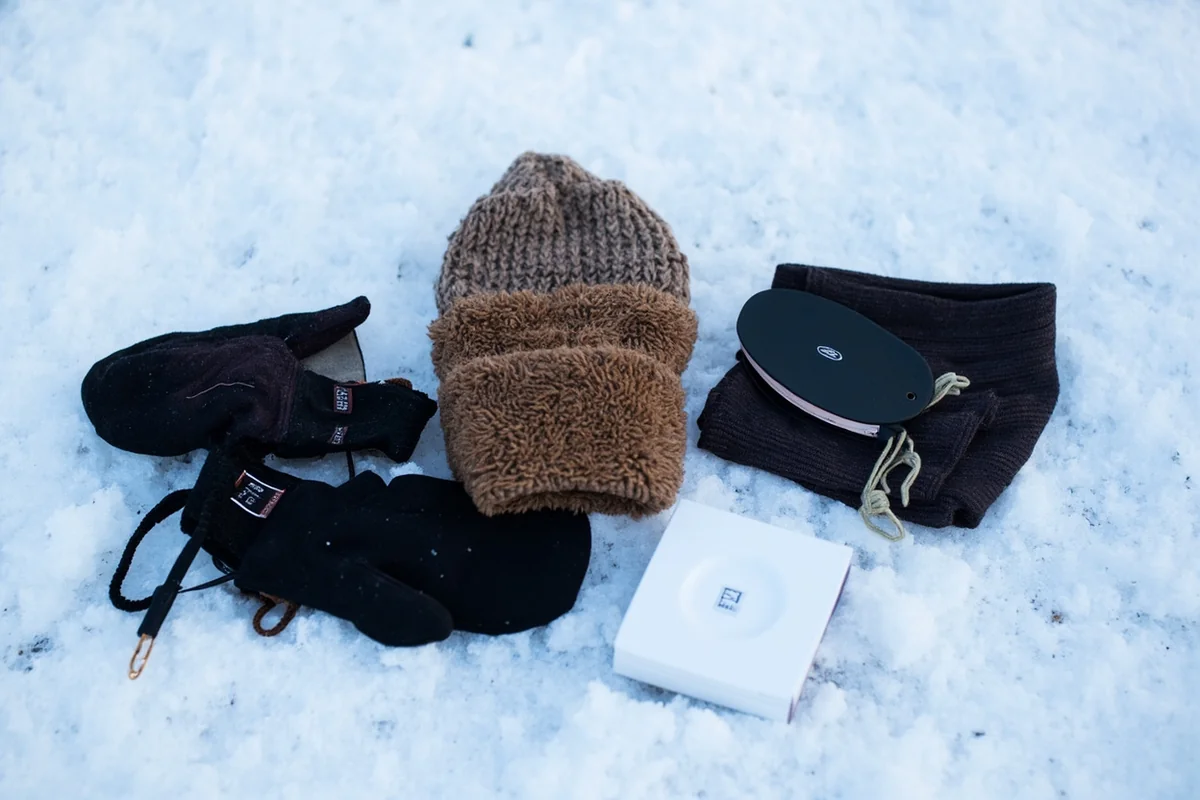
Hand Protection: Mittens Win
This is perhaps my most emphatic advice: mittens are dramatically warmer than gloves. Having your fingers together creates a shared warm air pocket that insulated gloves simply can’t match.
I’ve converted to a mitten system after years of frozen fingers in gloves. My current setup is liner gloves (thin merino or synthetic) under expedition mittens (Outdoor Research Alti or Black Diamond Mercury).
The liner gloves let me handle tasks like camera adjustments or phone checks without fully exposing my hands. When it’s truly cold, I keep hand warmers in my mittens—not as a luxury but as a safety measure.
If you must have finger dexterity, look at lobster-style mittens that group your fingers into pairs. They’re a reasonable compromise between warmth and functionality.
Feet: Where Most People Go Wrong
I’ve dedicated an entire separate guide to choosing Montana winter boots, but I’ll share the essentials here.
Your feet need three things: insulation, waterproofing, and room. That last point surprises people—boots should be slightly roomy to accommodate thick socks and allow blood circulation. Tight boots are cold boots.
I wear heavyweight wool socks (Darn Tough or Smartwool PhD) with insulated boots rated to at least -25°F. For activities like Yellowstone photography where I’m standing still in snow for hours, I use Baffin boots rated to -40°F.
Never wear cotton socks. I’ve seen visitors in the park wearing sneakers with athletic socks in January—it’s genuinely dangerous behavior.
Dressing for Specific Montana Winter Activities
Different activities require different approaches. What works for a wildlife safari in Yellowstone won’t work for backcountry skiing in Whitefish.
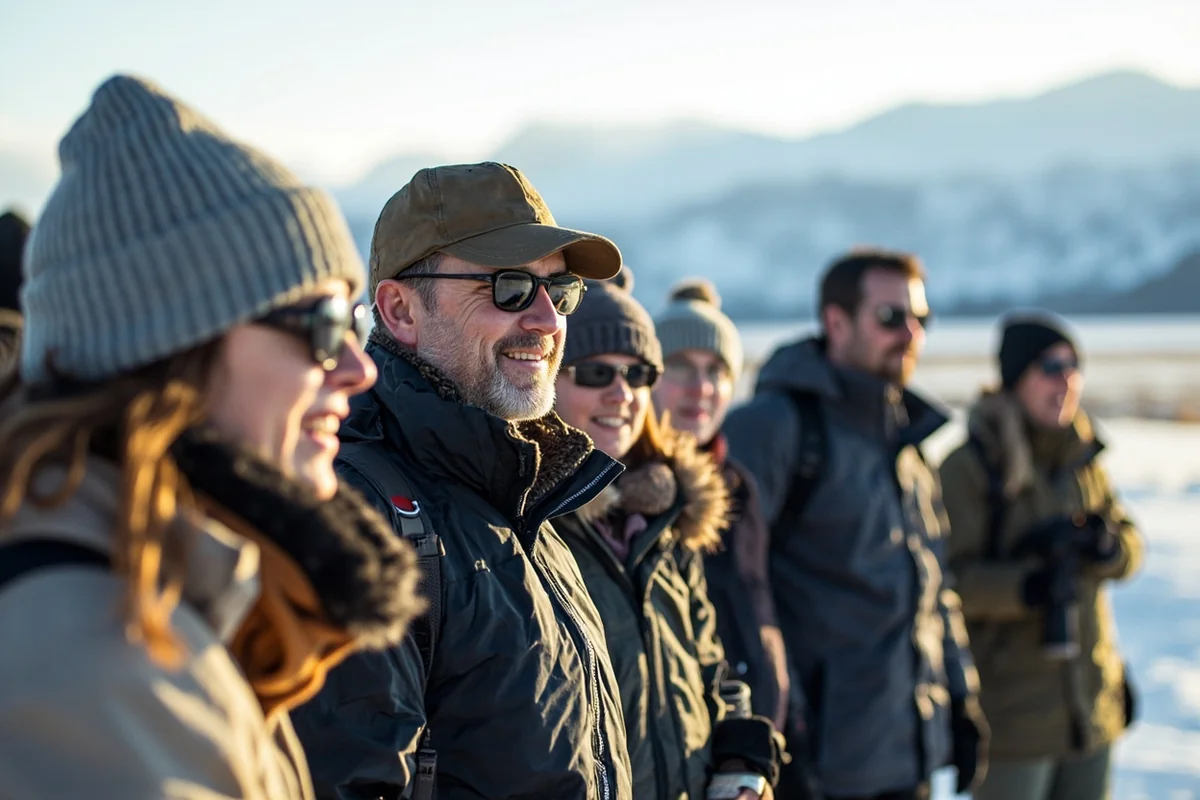
Yellowstone and Glacier Winter Touring
Winter in the national parks involves lots of time outside vehicles, often standing relatively still while viewing wildlife or scenery. This is actually the most demanding clothing scenario because you’re not generating significant body heat through movement.
When I guided wildlife tours in Lamar Valley last winter, I saw the full spectrum of preparation. The comfortable visitors came prepared for arctic conditions. The miserable ones dressed for a chilly fall day.
For park touring, I recommend:
- Heavyweight merino base layers top and bottom
- Down puffy jacket (600+ fill, preferably rated to -20°F)
- Insulated winter pants or snow pants over base layer
- Windproof hard shell jacket
- Pac boots or insulated winter boots rated to -30°F or colder
- Expedition mittens with liner gloves
- Balaclava and warm hat
- Multiple hand and toe warmers
Remember, you might step out of a warm vehicle into -20°F air and stand for 30 minutes watching wolves. Dress for the standing, not the driving.
Downhill Skiing and Snowboarding
Big Sky, Whitefish, Bridger Bowl, Red Lodge—Montana has incredible skiing, and I’ve logged hundreds of days at these resorts. Skiing requires different clothing strategy because you alternate between high exertion and cold chairlift exposure.
I avoid heavy insulation during actual skiing because overheating leads to sweat, which leads to chilling. My resort skiing kit is:
- Midweight synthetic base layer (breathes better during activity)
- Lightweight fleece or thin down layer
- Breathable ski-specific shell jacket with underarm vents
- Ski pants with vents
- Midweight ski socks (just one pair—doubling socks is counterproductive)
- Helmet liner or thin beanie under helmet
- Ski gloves with removable liner
- Neck gaiter for lift rides and windy conditions
On powder days with heavy snowfall, I’ll bump up to a fully waterproof shell. On bitter cold days, I add my puffy jacket and wear it on the lift, then unzip on the runs.
Snowshoeing and Cross-Country Skiing
These are high-output activities where the biggest risk is overdressing. I’ve overheated badly on snowshoe trips when I dressed for the trailhead temperature rather than the activity.
Start colder than you think. I head out feeling slightly chilled, knowing I’ll warm up within 10 minutes. My backcountry kit:
- Lightweight or midweight base layer
- Breathable soft shell or wind shirt
- Puffy jacket in my pack (not worn during movement)
- Hard shell in my pack for changing conditions
- Lightweight hat and midweight gloves
- Warm hat and mittens in my pack for breaks
The key is carrying layers you can add during breaks and emergencies. I’ve needed that spare puffy jacket several times when conditions changed or I stopped moving unexpectedly.
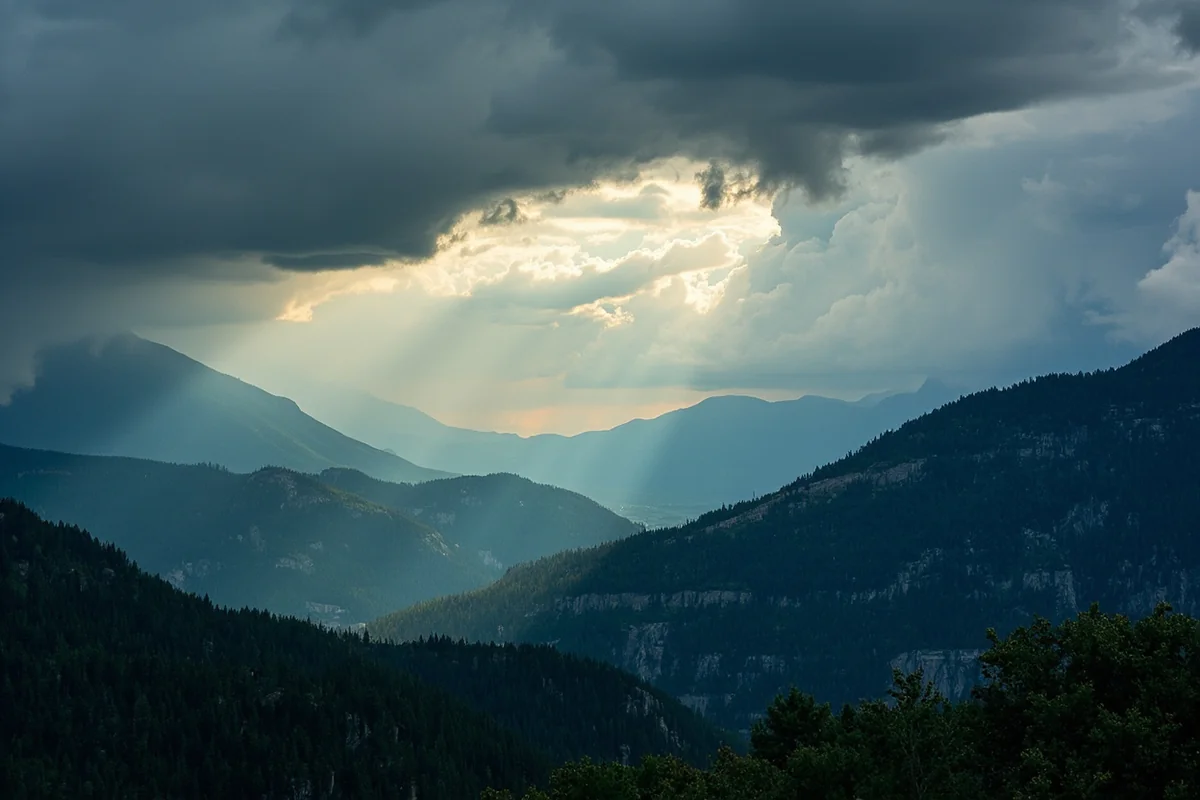
Dealing with Montana’s Rapid Weather Changes
Montana weather is notoriously unpredictable. I’ve experienced all four seasons in a single day during shoulder months, and winter brings its own brand of variability.
While you don’t need to worry about hurricanes in Montana or be overly concerned about tornadoes in winter, the state does see record-breaking winter conditions more often than you’d expect.
The Chinook Phenomenon
One of Montana’s most dramatic weather events is the Chinook wind—a warm, dry wind that descends from the Rocky Mountains and can raise temperatures 30-50 degrees in just hours.
I remember a January day in Great Falls that started at -10°F and hit 45°F by afternoon when the Chinooks rolled in. You might leave your hotel bundled for arctic conditions and need to strip down to a base layer by lunch.
This is why the layering system matters so much. You need the ability to adjust on the fly without carrying an entirely separate wardrobe.
Mountain Weather vs. Valley Weather
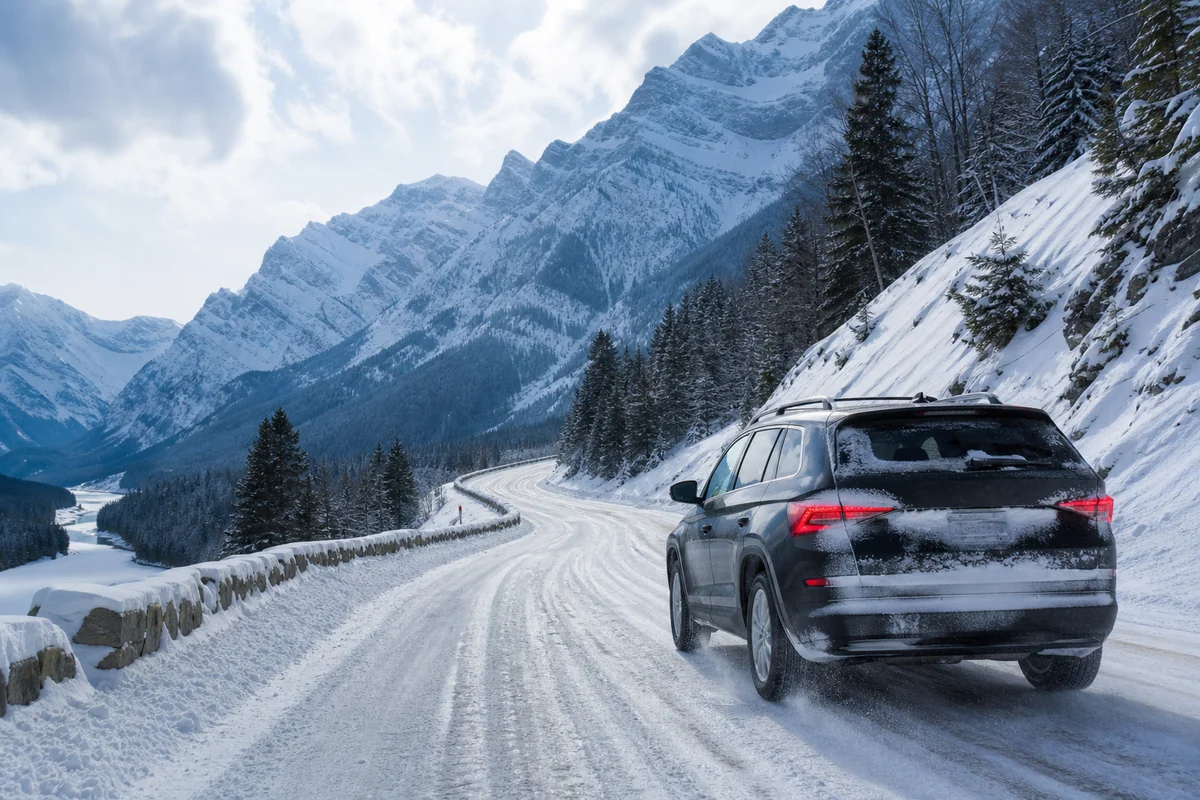
If you’re driving through Montana in winter, you’ll experience significant variations between valley towns and mountain passes.
Missoula might be 25°F while Lookout Pass is -5°F with blowing snow. Always have full winter gear accessible in your vehicle, not buried in the trunk. If you get stuck or stranded, you need it immediately.
The warmest places in Montana during winter are typically the lower-elevation southwestern valleys and areas near Billings. But “warmest” is relative—you’ll still need proper winter clothing throughout the state.
Budget Considerations: Building Your Winter Wardrobe
I won’t pretend that quality winter clothing is cheap. But I’ve learned that buying cheap is often more expensive in the long run—you either suffer through your trip or end up replacing inadequate gear.
Where to Invest vs. Where to Save
If I could only buy two premium items, they would be:
- Boots: Your connection to the frozen ground. Quality insulated, waterproof boots are non-negotiable.
- Base layers: They’re against your skin all day. Quality merino wool is worth every penny.
You can find deals on outer shells, especially last season’s colors. A Gore-Tex shell from three years ago performs identically to this year’s model.
Mid layers are where I’ve had success with mid-priced brands. The REI Co-op down jackets perform nearly as well as premium options at significantly lower cost.
Approximate Budget Guide
| Item | Budget Option | Premium Option |
|---|---|---|
| Base layer top | $40-60 | $90-150 |
| Base layer bottoms | $35-50 | $80-120 |
| Down puffy jacket | $100-150 | $250-450 |
| Hard shell jacket | $150-200 | $350-600 |
| Insulated boots | $80-120 | $180-300 |
| Expedition mittens | $50-80 | $120-200 |
| Warm accessories (hat, gaiter, etc.) | $40-60 total | $100-150 total |
Renting and Borrowing Options
If you’re visiting Montana once and can’t justify the expense, consider renting. Several outfitters in gateway towns offer winter clothing rental, and some guided tours include proper gear.
REI members can rent outer layers and boots from locations in Bozeman and Missoula. It’s an excellent option for trying quality gear before committing to purchase.
Common Mistakes I See (and Made Myself)
After years of living in Montana and helping visitors prepare, certain mistakes appear repeatedly.
Relying on Cotton
“Cotton kills” isn’t just a catchy phrase—it’s genuinely true in cold conditions. Cotton absorbs moisture, loses all insulating value when wet, and takes forever to dry. I’ve seen visitors shivering uncontrollably because their cotton base layer was soaked with sweat.
Leave the cotton at home. Every layer against your skin should be wool or synthetic.
Underestimating Wind Chill
The forecast might say 10°F, but with 20 mph wind, it feels like -15°F. When I’m looking at Montana snow conditions, I always plan for the wind chill temperature, not the actual temperature.
Add windproof layers and protect exposed skin. A calm 5°F day feels dramatically different from a windy 5°F day.
Buying Boots Too Small
Tight boots compress the insulation and restrict blood flow. You need room for thick socks and natural foot swelling. I buy winter boots a half to full size larger than my normal shoes.
Forgetting Sun Protection
Montana winter sun at elevation is intense. The combination of high altitude and snow reflection can cause serious sunburn and snow blindness. Even on cloudy days, UV exposure is significant.
I always carry quality sunglasses and apply SPF 30+ sunscreen to exposed skin. It seems counterintuitive in frigid weather, but the burn is real.
Special Considerations for Extreme Cold
When temperatures drop below -20°F—which happens regularly in northern Montana—you enter territory where normal rules don’t apply. Questions like “is Montana the coldest state” become relevant when you’re standing in that kind of cold.
Exposed skin can develop frostbite in minutes. Metal objects can cause instant frostbite on contact. Batteries drain rapidly. Even breathing becomes a conscious effort.
During my winter photography trips in these conditions, I wear expedition-level clothing and never venture far from shelter alone. This isn’t gear for casual tourism—it’s survival equipment.
If your visit coincides with an extreme cold snap, I strongly recommend indoor activities or very brief outdoor excursions. No photograph or experience is worth frostbite or hypothermia.
Caring for Your Winter Clothing
Quality winter gear represents a significant investment and deserves proper care to maintain performance over years.
Down jackets lose loft when dirty because oils from your skin and the environment coat the feathers. I wash my down puffy twice per season with dedicated down wash (Nikwax is my go-to) and tumble dry on low with clean tennis balls to restore loft.
Gore-Tex and similar waterproof membranes need occasional refreshing. I treat my shells with DWR (durable water repellent) spray once per season. You’ll know it’s time when water stops beading on the surface and starts soaking into the fabric.
Merino wool base layers do surprisingly well in the washing machine on gentle cycle with cold water. I hang dry them to preserve the fiber integrity, though tumble drying on low works in a pinch.
Always store winter clothing clean and completely dry. Down stuffed in a compression sack long-term loses its loft—store puffy jackets hanging or loosely in a large cotton storage bag.
Final Thoughts on Staying Warm in Big Sky Country
Montana winters are not inherently dangerous—they’re incredibly beautiful and offer experiences impossible at other times of year. But they demand respect and preparation.
The clothing system I’ve described has kept me comfortable through hundreds of Montana winter days, from photographing bison in Yellowstone’s Lamar Valley at -30°F to skiing waist-deep powder at Big Sky to simply walking through downtown Bozeman on January evenings.
Invest in proper gear, learn to layer effectively, and protect your extremities. Do those things, and Montana’s winter becomes an extraordinary playground rather than an ordeal to survive.
One last tip: if you’re nervous about conditions, consider visiting during March or April. You’ll still experience genuine Montana winter, but temperatures are more moderate and days are longer. The Montana summer season doesn’t require this level of clothing preparation, but spring still demands respect.
For real-time conditions and more detailed weather information, check out the Montana humidity patterns and plan accordingly. While Montana is generally dry, understanding all aspects of the climate helps you prepare properly.
And remember—I’ve never heard anyone say they brought too many layers to Montana in winter. But I’ve met countless visitors who brought too few.
Stay warm out there.
Frequently Asked Questions
What should I pack for a winter trip to Montana?
I always recommend layering with moisture-wicking base layers, insulated mid-layers, and a waterproof outer shell. Don’t forget thermal underwear, insulated waterproof boots rated to at least -25°F, wool socks, fleece-lined gloves, and a balaclava or neck gaiter for exposed skin protection.
How cold does Montana get in winter and what temperatures should I prepare for?
Montana winters are serious—temperatures regularly drop to -20°F to 0°F in January and February, with wind chills making it feel even colder. Mountain areas like Big Sky and Glacier National Park can see even more extreme cold, so I always prepare for subzero conditions regardless of the forecast.
Do I need special winter boots for visiting Montana in December through February?
Absolutely—regular snow boots won’t cut it in Montana’s harsh winters. I recommend investing in insulated, waterproof boots rated to at least -25°F with good traction, such as Sorel or Baffin brands. Expect to spend $150-$300 for quality boots that’ll keep your feet warm during outdoor activities.
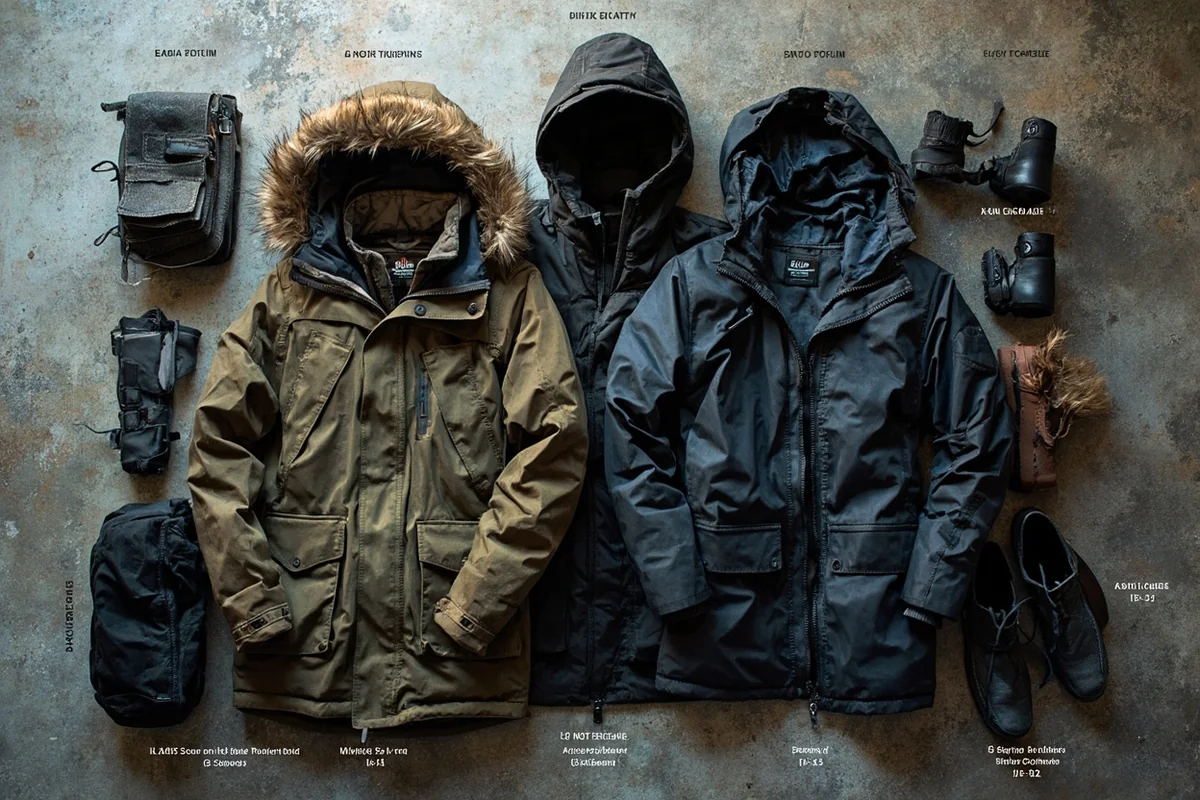
What type of winter coat is best for Montana’s extreme cold?
A down-insulated or synthetic-fill parka rated for subzero temperatures is essential for Montana winters. I personally prefer a coat that extends past my hips with a fur-lined hood, and I look for features like sealed seams and adjustable cuffs to block wind and snow.
Is it worth buying winter gear before my Montana trip or can I purchase it there?
I strongly recommend buying your core winter clothing before arriving, as local shops in Montana tourist areas often have limited selection and higher prices. However, towns like Bozeman, Missoula, and Kalispell have outdoor retailers like REI and Scheels where you can pick up forgotten items or accessories.
What winter accessories do locals recommend for Montana’s weather?
Montana locals swear by hand and toe warmers (around $1-$2 per pair), which I always keep in my pockets during outdoor excursions. Other must-haves include polarized sunglasses for snow glare, a buff or balaclava, ski goggles for windy days, and layered mittens over thin liner gloves for dexterity when needed.
How should I dress for driving long distances in Montana during winter?
When driving Montana’s winter highways—where towns can be 50-100 miles apart—I dress as if I might need to wait outside in an emergency. Keep your heavy coat, boots, and gloves accessible rather than packed in the trunk, and I always carry extra blankets, hand warmers, and a change of dry socks in case of breakdowns or road closures.
Sources