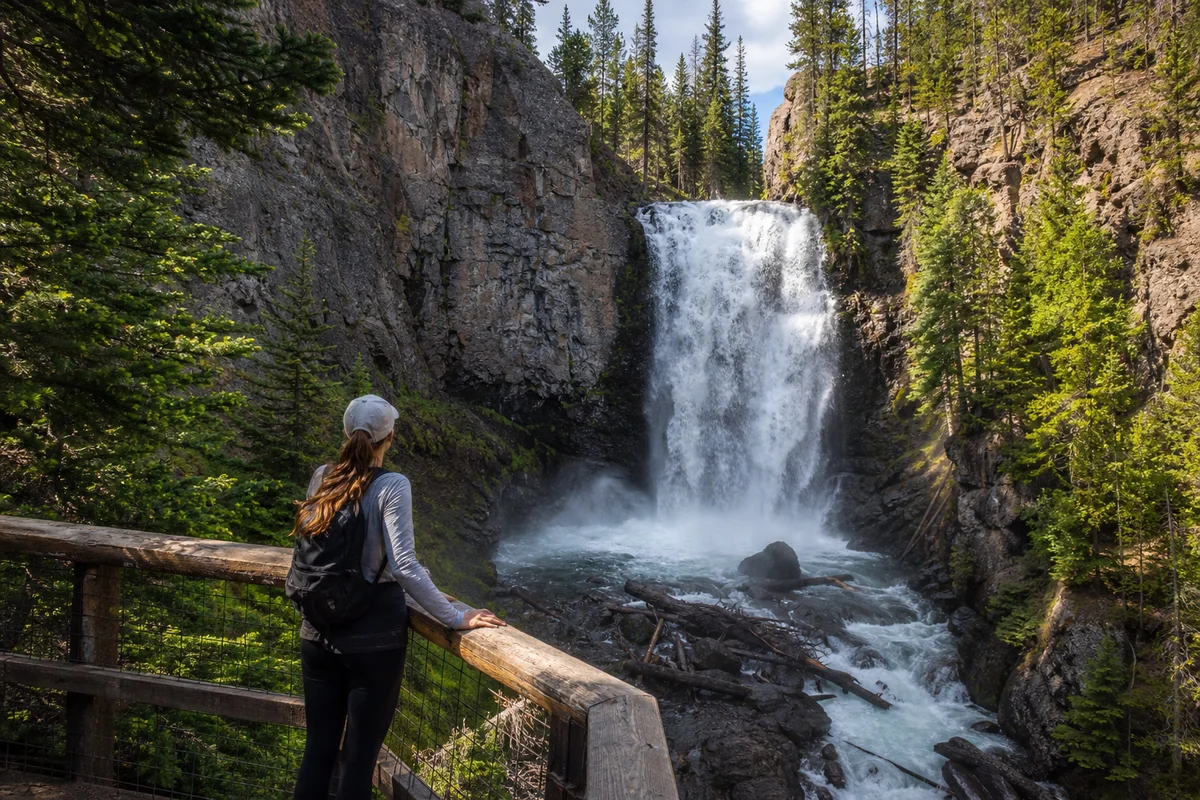
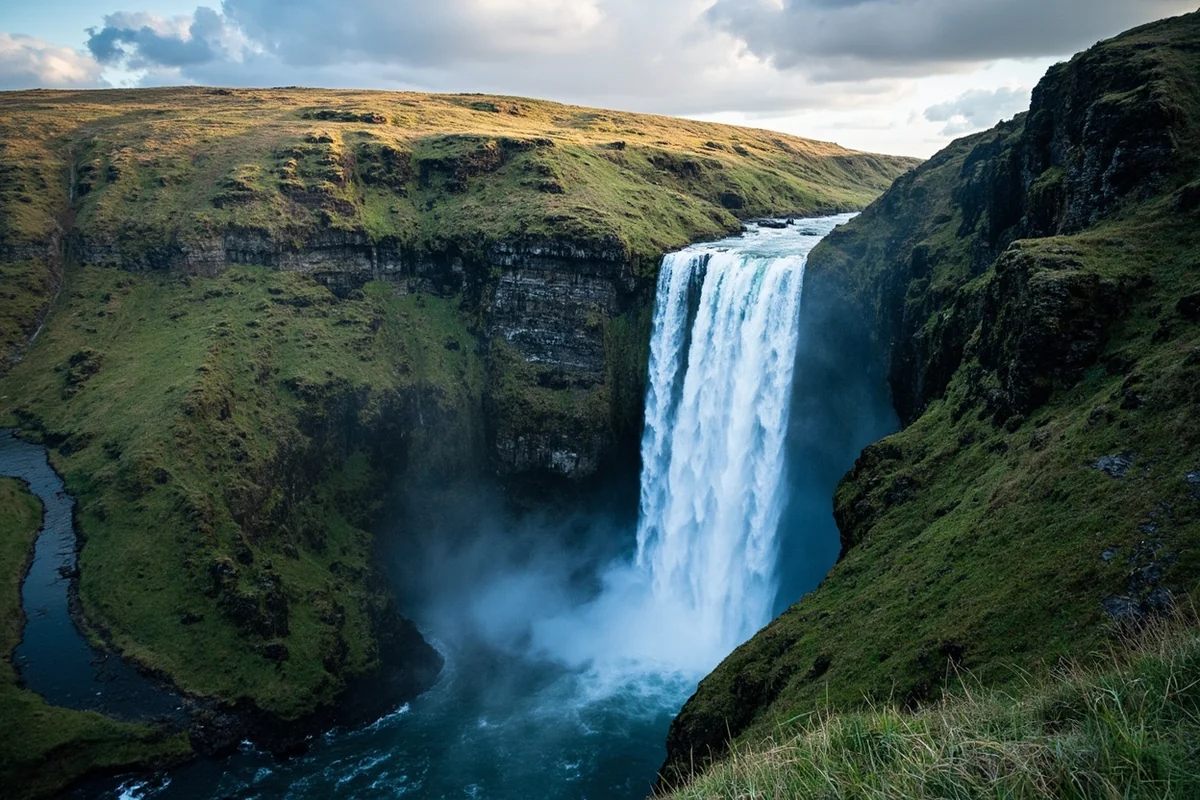
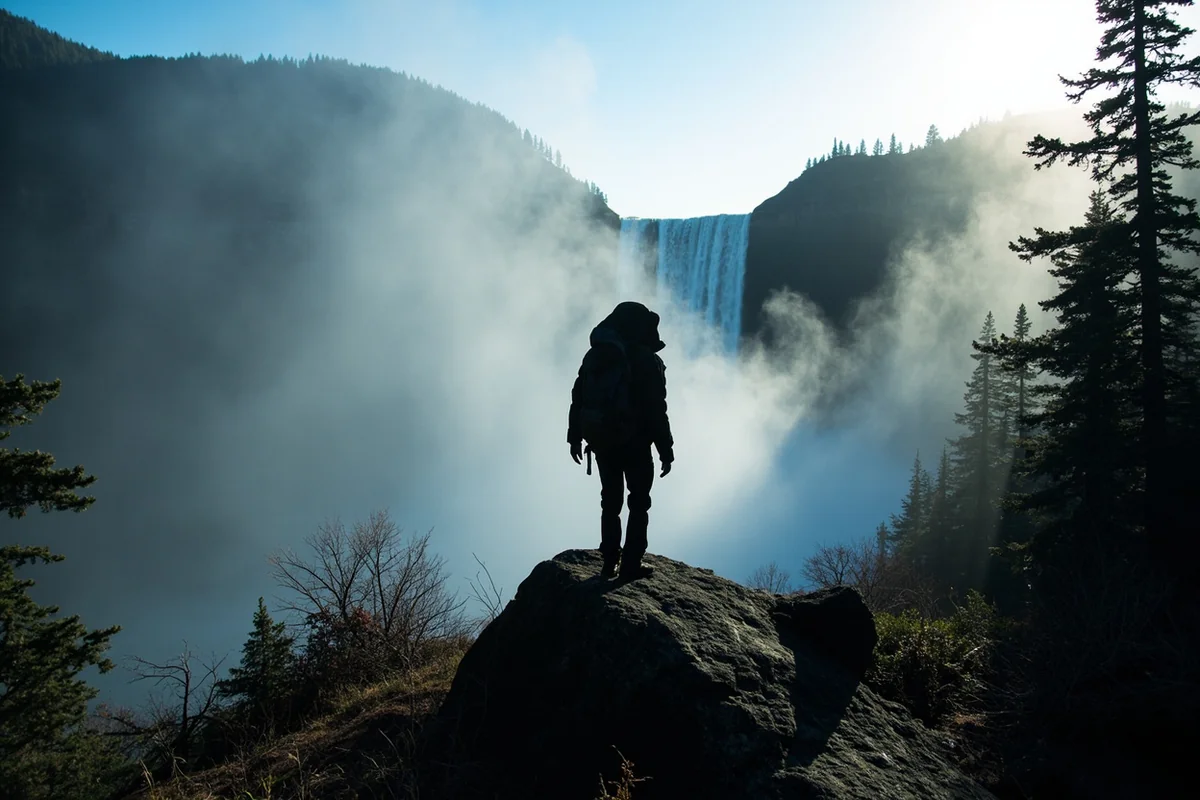
The moment I crested the final switchback and heard the thundering rush of Ipasha Falls echoing through the valley, I understood why this hidden gem remains one of Glacier National Park’s best-kept secrets.
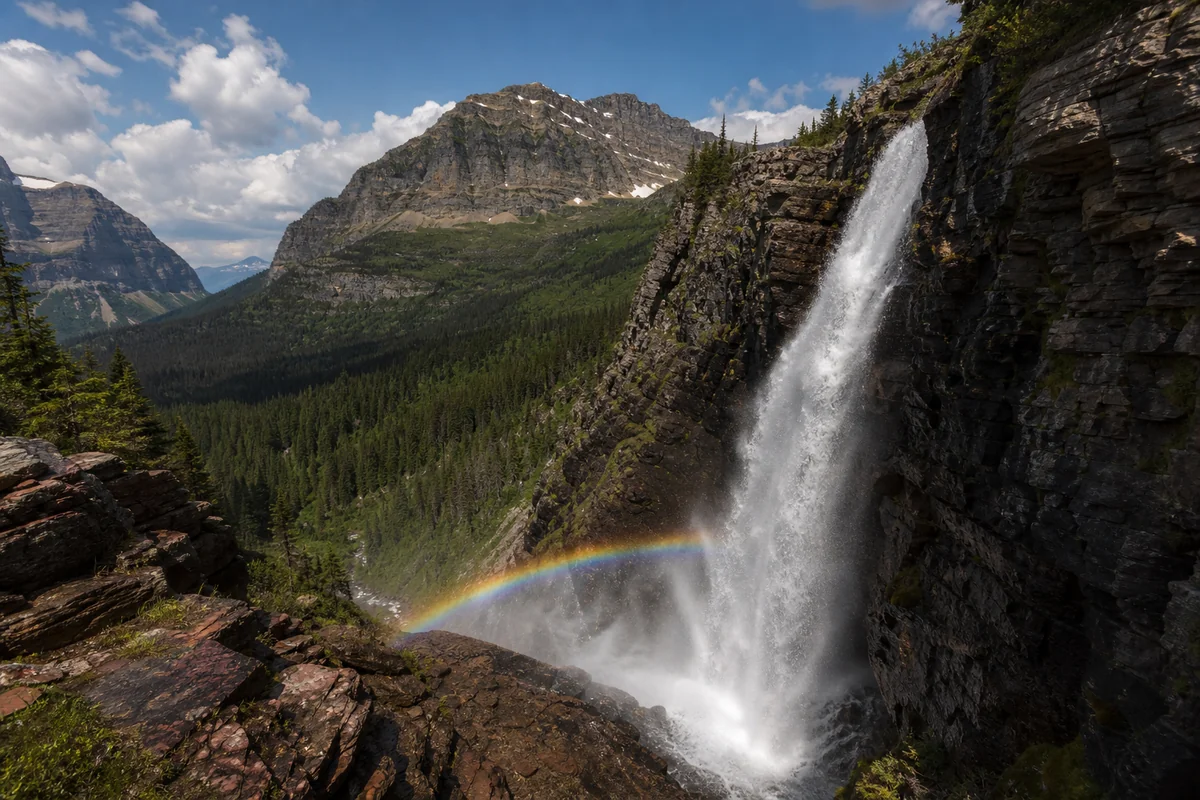
While crowds flock to more famous cascades, I stood alone watching a 100-foot curtain of glacial meltwater plunge into the wilderness below, the mist catching afternoon light and throwing rainbows across the dark rock face.
If you’re exploring Montana waterfalls, Ipasha Falls demands a spot on your itinerary—but only if you’re willing to earn it.
- Ipasha Falls drops approximately 100 feet in Glacier National Park’s remote Many Glacier region
- Access requires a challenging 9-mile round-trip hike via the Ptarmigan Tunnel Trail
- Best visited mid-June through September when trails are snow-free
- Early morning visits offer the best photography lighting and fewer hikers
- Permits required for backcountry camping; day hikes don’t need permits
- Bear spray is essential—grizzly activity is high in this area
What Makes Ipasha Falls Special
I’ve hiked to dozens of waterfalls across Montana over the past several years, and Ipasha Falls holds a unique place in my memory.
Unlike roadside attractions such as McDonald Falls where you can snap photos from your car, reaching Ipasha requires genuine effort and rewards you with genuine solitude.
The falls emerge from Ipasha Lake, a pristine alpine body of water fed by the remnants of Ipasha Glacier. During my July visit last summer, the water volume was absolutely spectacular—snowmelt was still feeding the system, creating a roaring cascade that I could hear from nearly a quarter-mile away.
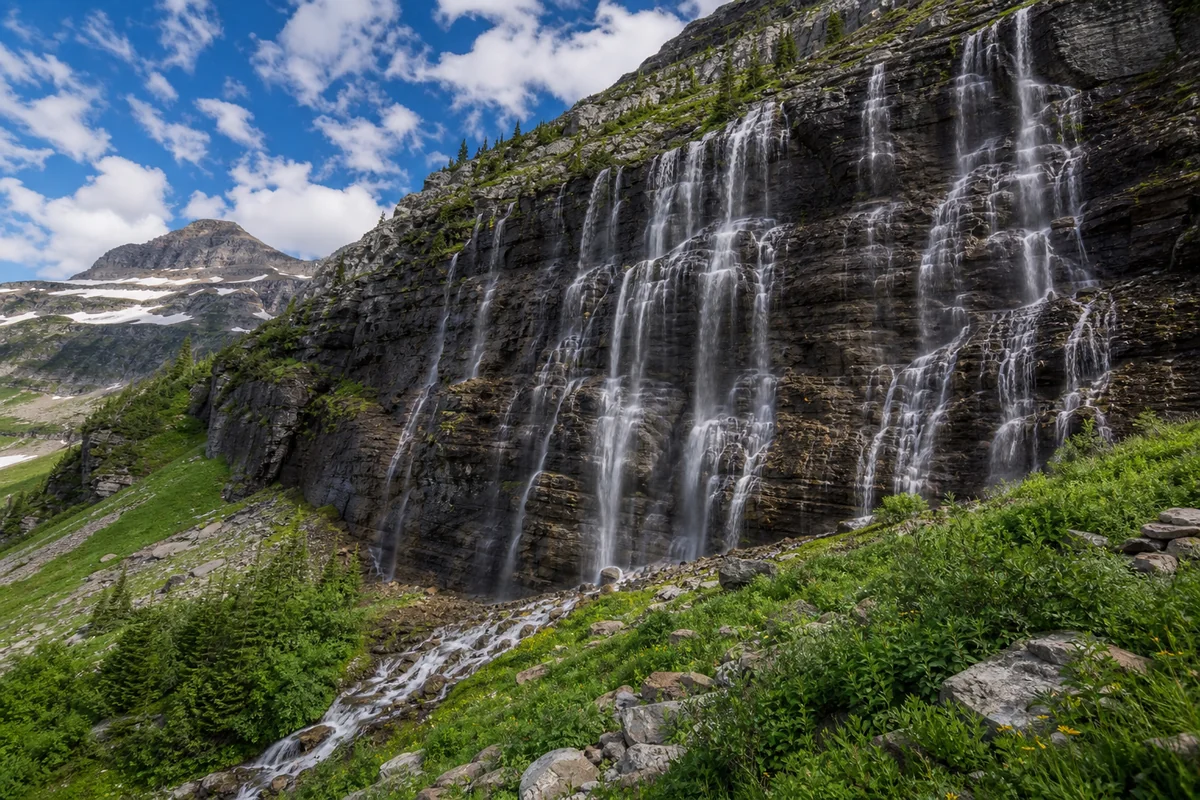
What struck me most was the setting. The falls don’t just tumble down any ordinary cliff face. They pour over layers of ancient Precambrian rock, the distinctive red and green argillite that makes Glacier’s geology so visually stunning.
The contrast between white water and these colorful banded rocks creates a natural artwork that photographs simply cannot fully capture.
Where Exactly Is Ipasha Falls?
Ipasha Falls is located in the Many Glacier region of Glacier National Park, on the park’s east side. This area is often called the “Switzerland of North America,” and once you’re standing near the falls with jagged peaks surrounding you on all sides, that comparison feels entirely justified.
The falls sit at approximately 6,800 feet elevation, positioned below Ipasha Lake and Ipasha Peak. Geographically, you’re in the Belly River drainage, though you’ll access the falls from the Many Glacier Valley.
To give you a sense of location:
- Distance from Many Glacier Hotel: approximately 4.5 miles one way
- Distance from the town of Babb: roughly 15 miles by road plus the hike
- Distance from Glacier Park International Airport (Kalispell): about 90 miles to Many Glacier, plus the hike
- GPS coordinates of falls: approximately 48.8447° N, 113.6181° W
Getting to the Trailhead
Your adventure to Ipasha Falls begins at the Ptarmigan Tunnel Trailhead in the Many Glacier area. I’ll be honest—just getting to the trailhead is an adventure in itself.
From the east entrance of Glacier National Park near St. Mary, you’ll drive north on Highway 89 to the small town of Babb. Turn west onto Many Glacier Road and follow it for approximately 12 miles to its end at the Swiftcurrent Motor Inn area.
During my visit last summer, I learned the hard way that the Many Glacier Road deserves respect. The road is paved but narrow with tight curves.
I encountered everything from mountain goats standing in the middle of the road to an RV driver who seemed genuinely confused about which side to stay on. Take it slow, especially in the early morning when wildlife is most active.
Parking Realities You Need to Know
Here’s something nobody told me before my first trip: parking at Many Glacier is absolutely brutal during peak summer months. I’m talking “arrive before 6 AM or don’t bother” levels of competitive.
The main lot at Swiftcurrent fills by 7 AM most mornings from late June through Labor Day. There’s overflow parking available, but even that disappears quickly. On my most recent visit, I arrived at 5:45 AM and snagged one of the last reasonable spots.
Your alternatives include:
- Staying at Many Glacier Hotel or Swiftcurrent Motor Inn (guarantees parking)
- Taking the park shuttle from St. Mary (check current schedules)
- Arriving extremely early or later in the afternoon (though afternoon starts for this hike aren’t recommended)
| Practical Information | Details |
|---|---|
| Trailhead | Ptarmigan Tunnel Trailhead, Many Glacier |
| Round-trip Distance | Approximately 9 miles |
| Elevation Gain | Approximately 2,400 feet |
| Difficulty | Strenuous |
| Time Required | 5-7 hours depending on fitness and photo stops |
| Best Season | Mid-June through late September |
| Park Entrance Fee | $35 per vehicle (7-day pass) |
| Dog Policy | Dogs not permitted on trails |
The Hike to Ipasha Falls: What to Expect
I won’t sugarcoat this: the hike to Ipasha Falls is challenging. This isn’t a casual stroll like you might take to Running Eagle Falls or Sacred Dancing Cascade. You’re earning this waterfall with every step.
Mile-by-Mile Trail Description
Miles 0-1: The Gentle Beginning
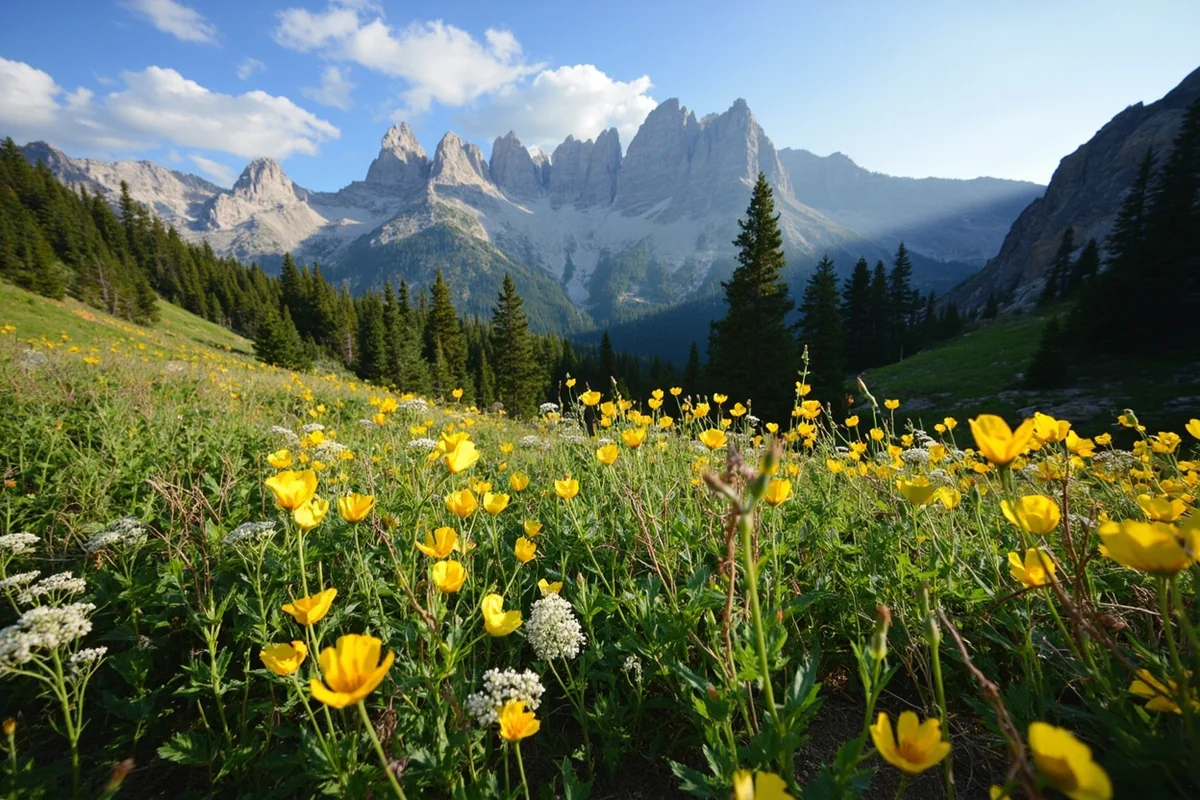
The trail starts deceptively easy. You’ll follow a well-maintained path through subalpine meadows, crossing Wilbur Creek on a sturdy wooden bridge. During my July hike, these meadows were exploding with wildflowers—beargrass, Indian paintbrush, and glacier lilies created a carpet of color that had me stopping for photos every few minutes.
Keep your eyes open here. This stretch is prime grizzly bear habitat. I’ve seen bears in these meadows on two of my three visits to this trail.
Miles 1-2.5: The Real Work Begins
After the meadows, the trail begins climbing in earnest. You’ll gain elevation through a series of switchbacks that seem endless. The forest canopy provides some shade, which you’ll appreciate on warm summer mornings.
I remember thinking during this section, “Why did I bring so much water?” Then I drank all of it and wished I’d brought more. Don’t underestimate hydration needs—the elevation and exertion combine to dehydrate you faster than you’d expect.
Miles 2.5-3.5: Alpine Transition Zone
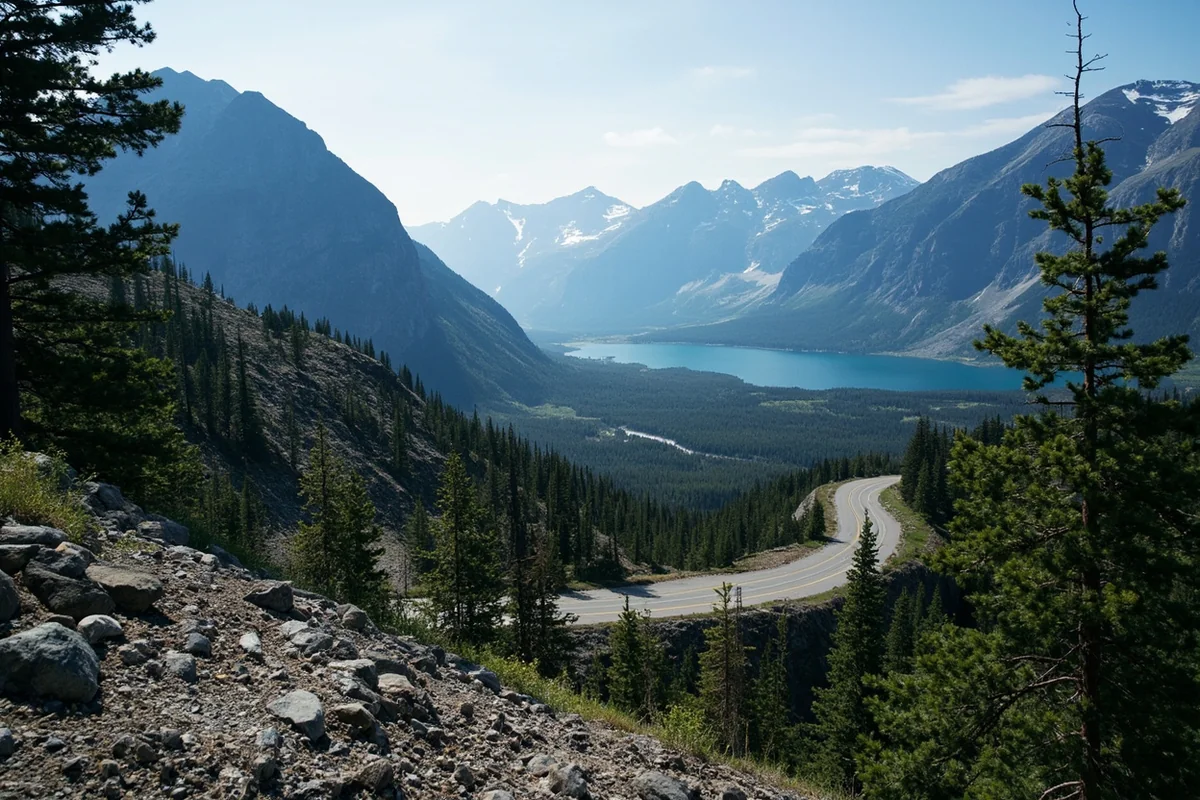
The forest begins to thin, and you emerge into alpine terrain. The views here are absolutely stunning—you can see Ptarmigan Lake below, Ptarmigan Wall rising above, and on clear days, peaks stretching toward Canada.
This section involves some rocky scrambling. The trail is well-marked but requires careful foot placement in spots. On my last visit, I encountered lingering snow patches here in early July that required some careful navigation.
Miles 3.5-4.5: The Final Push to Ipasha
The trail to Ipasha Falls branches off before reaching Ptarmigan Tunnel. You’ll take a use trail that descends toward Ipasha Lake. This section can be tricky—the path isn’t as well-defined as the main trail, and cairns are your friends.
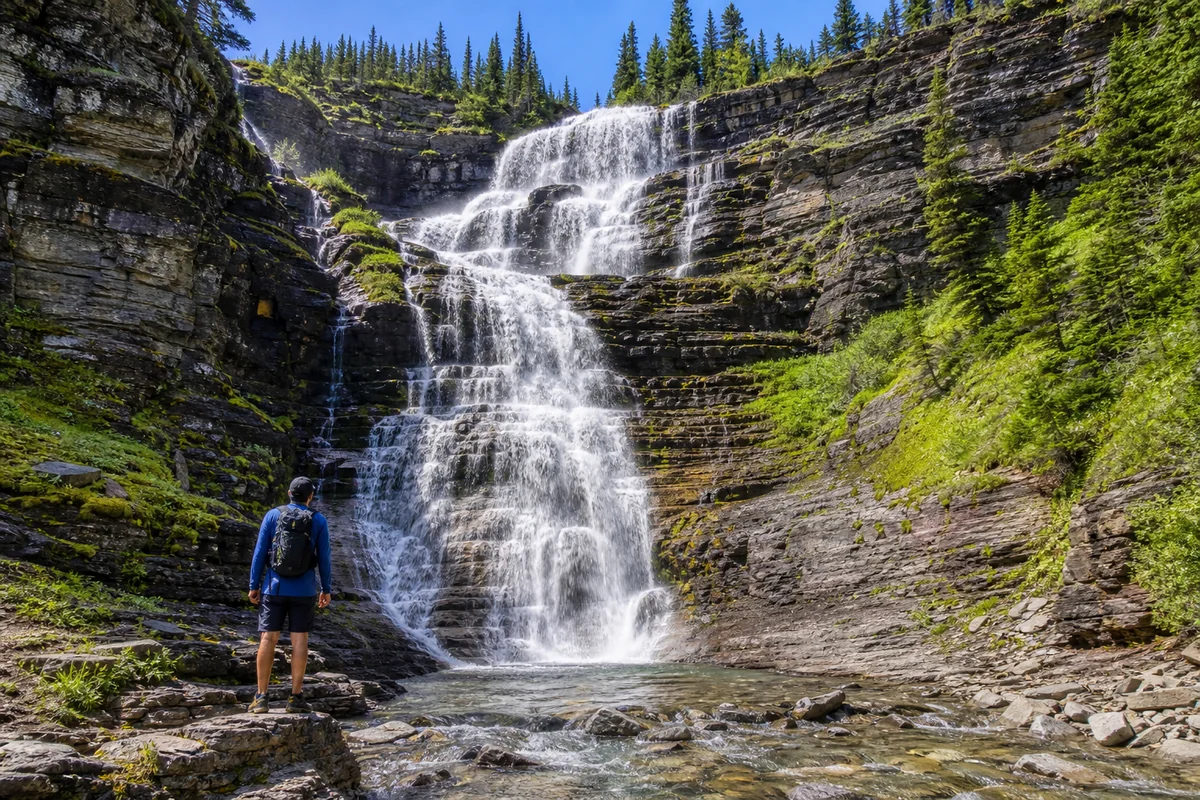
When I finally reached the falls, the effort melted away instantly. The cascade pours down in front of you, close enough to feel the mist but far enough for a full view. I sat on a rock outcropping and ate my lunch while watching the water for nearly an hour.
Best Times to Visit Ipasha Falls
Timing your visit correctly can mean the difference between a transcendent experience and a disappointing one. I’ve learned this through both fantastic visits and one trip where conditions weren’t ideal.
Seasonal Considerations
Early Summer (June)
June brings peak water flow as snowmelt feeds the system. The falls are absolutely roaring—dramatically more impressive than late summer. However, trails often remain snow-covered through mid-June, making access difficult or impossible.
I attempted this hike on June 10th one year and had to turn back at the alpine section due to dangerous snow conditions. Unless you’re comfortable with mountaineering equipment and snowfield navigation, wait until later in the month.
Mid-Summer (July-August)
This is the sweet spot for most visitors. Trails are typically clear, weather is stable, and water flow remains strong through July. August sees reduced flow but still impressive volume.
My favorite visit was the third week of July—perfect trail conditions, wildflowers everywhere, and the falls performing beautifully.
Early Fall (September)
September offers solitude—crowds thin dramatically after Labor Day. The falls run lower but remain beautiful, and aspens add golden colors to the already stunning scenery. Be prepared for rapidly changing weather and check that the Many Glacier Road remains open.
Time of Day Matters
For photography and overall experience, I strongly recommend an early morning start. Aim to begin hiking by 6 AM for several reasons:
- Morning light illuminates the falls beautifully from the east
- Wildlife is more active in cooler morning hours
- Afternoon thunderstorms are common in summer—you want to be descending, not ascending, when they hit
- Temperatures are cooler for the challenging climb
During my most recent hike, I started at 5:30 AM and reached the falls around 9 AM. The light was absolutely perfect, slanting across the cascade and lighting up the mist. I had the falls entirely to myself for over an hour before other hikers arrived.
Wildlife Encounters: What I’ve Seen (and What to Prepare For)
The Many Glacier area has the highest concentration of grizzly bears in the lower 48 states. This isn’t a casual fact—it’s something you need to take seriously.
On my three visits to the Ipasha Falls area, I’ve encountered:
- Grizzly bears: twice (both at a safe distance)
- Black bears: once
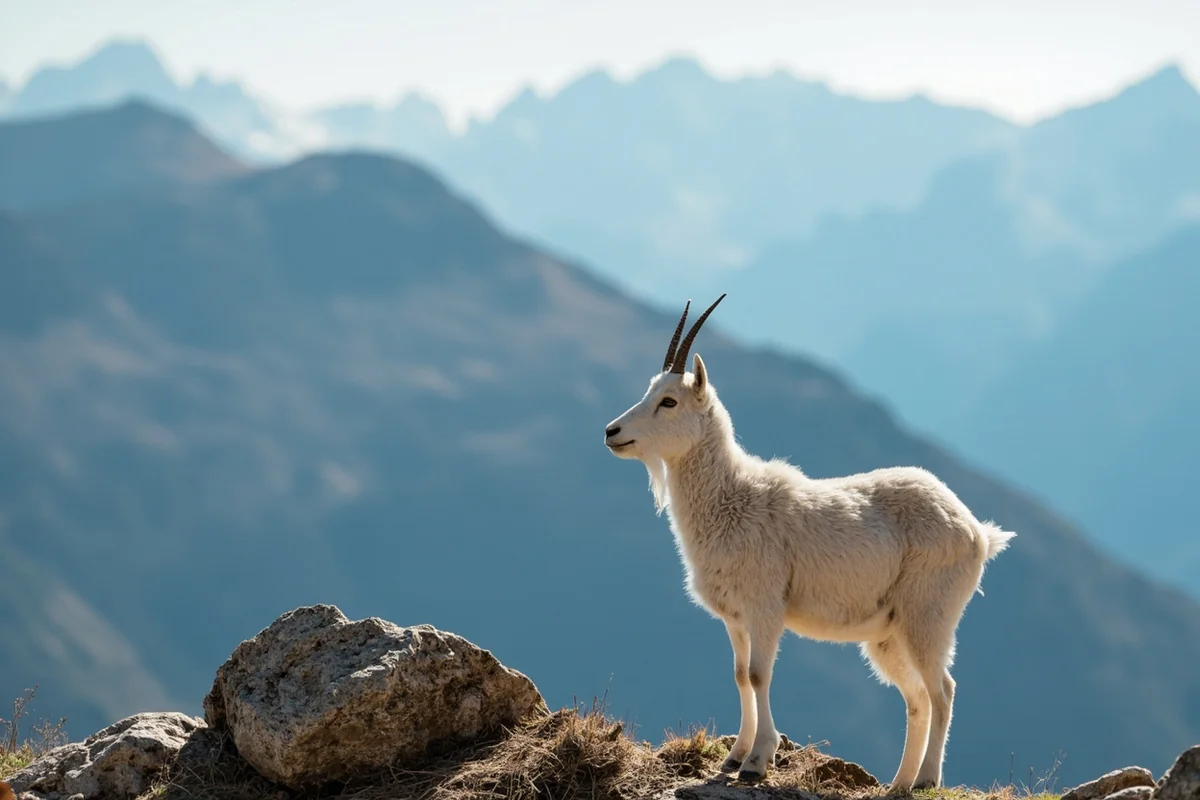
- Mountain goats: every single trip
- Bighorn sheep: once
- Marmots: constantly (they’re everywhere and extremely vocal)
- Ptarmigan: twice near the alpine zone
Bear Safety Is Non-Negotiable
I carry bear spray on every hike in Glacier, and I keep it accessible—not buried in my pack. The Ptarmigan Trail has had serious bear encounters, including charges and injuries over the years.
My bear safety protocol:
- Bear spray in a hip holster, always
- Make noise on the trail, especially around blind corners
- Hike with others whenever possible
- Stay alert and scan surroundings constantly
- Never approach bears, no matter how “calm” they appear
During one July hike, I rounded a corner to find a grizzly sow with two cubs about 200 yards ahead on the trail. We stopped, made ourselves visible, and slowly backed away. She eventually moved off-trail, and we waited 15 minutes before continuing. This is exactly how these encounters should go.
What to Pack for Ipasha Falls
Based on my multiple trips, here’s my refined packing list for this specific hike:
Essentials (non-negotiable):
- Bear spray (and know how to use it)
- At least 3 liters of water (I bring 4 on hot days)
- High-energy snacks and lunch
- Rain jacket (weather changes rapidly at elevation)
- Extra warm layer (alpine temperatures can be 20+ degrees cooler)
- First aid kit
- Navigation (map, compass, or GPS)
- Sunscreen and sunglasses
- Hat for sun protection
Highly Recommended:
- Trekking poles (invaluable for steep sections and creek crossings)
- Camera with waterproof bag (mist from falls)
- Polarizing filter for waterfall photography
- Gaiters if hiking early season (lingering snow)
- Microspikes for early-season snow
- Binoculars for wildlife viewing
What I Wish I’d Brought My First Time:
- More water—I severely underestimated how much I’d need
- Warmer gloves—it was surprisingly cold near the falls
- A drier towel for my camera lens—mist was more intense than expected
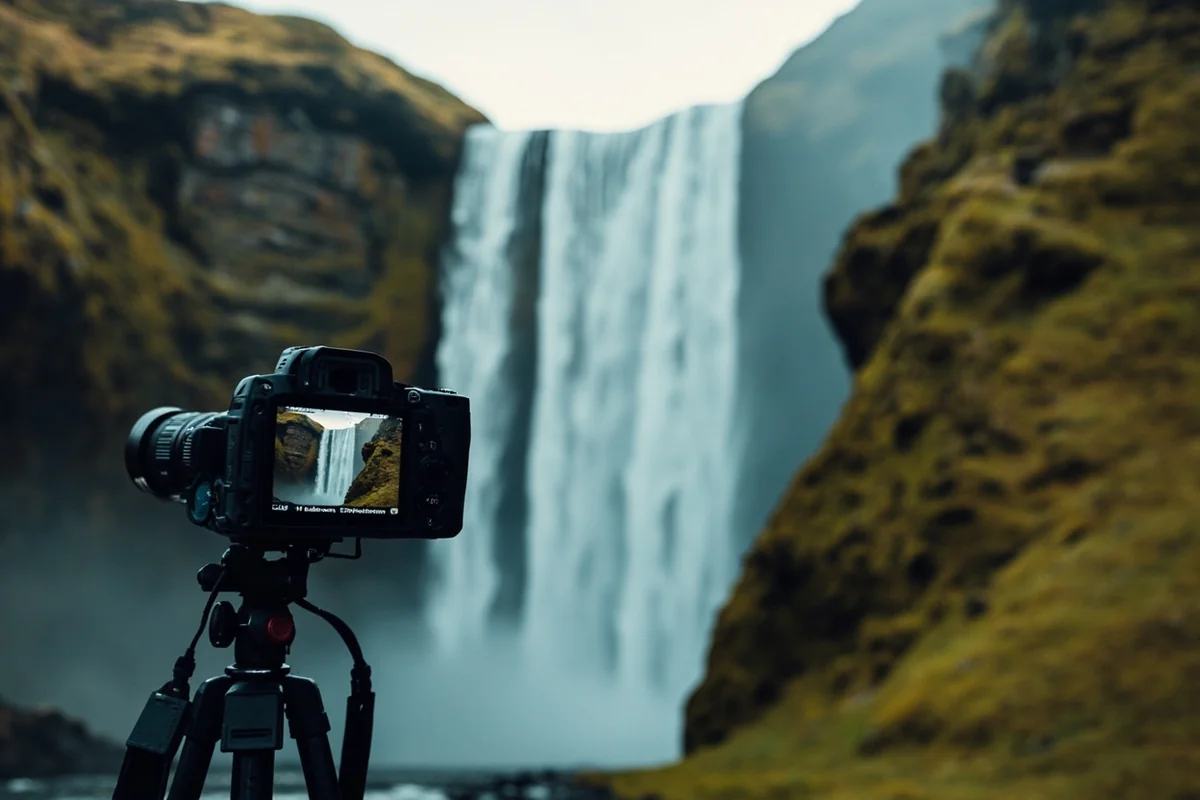
Photography Tips from My Visits
Ipasha Falls presents some unique photography challenges and opportunities. Here’s what I’ve learned through trial and error:
Gear Recommendations
A wide-angle lens (16-35mm range) captures the full cascade with its alpine setting. I’ve also had success with a telephoto (70-200mm) for isolating specific sections of the falls and the beautiful rock patterns.
Bring a tripod if you’re serious about photography. Long exposures that give that silky water effect require stability, and the rocky terrain makes handheld shots challenging.
Timing for Best Light
Morning light (8-10 AM) provides the most flattering illumination, with sun hitting the falls directly. This creates beautiful contrast and makes the spray visible.
Overcast days actually produce excellent results—soft light eliminates harsh shadows and allows for longer exposures without neutral density filters.
Composition Ideas
During my visits, I found several compositions particularly effective:
- Wide shot including the falls with Ipasha Peak behind
- Mid-range showing the full cascade with surrounding red/green argillite
- Close-up details of water meeting colorful rock layers
- Including wildflowers or alpine vegetation as foreground interest
Comparing Ipasha Falls to Other Glacier Waterfalls
Having visited numerous waterfalls throughout Glacier, I can offer some perspective on how Ipasha compares:
Versus Saint Mary Falls: Saint Mary is much more accessible (easy 1.7-mile hike), making it ideal for families or those with limited time. Ipasha offers a more dramatic setting but requires serious commitment.
Versus Ptarmigan Falls: Since Ptarmigan Falls is along the same trail, you can easily see both in one trip. Ptarmigan is smaller but quite pretty—I consider it a bonus stop on the way to Ipasha.
Versus Redrock Falls: Redrock offers a similar moderate-to-strenuous hiking experience with stunning payoff. If you’re choosing between them, Ipasha has more dramatic elevation and setting, while Redrock offers excellent swimming opportunities.
Versus Grotto Falls: Grotto is much shorter and easier, making it great for a quick waterfall fix. Ipasha is the choice when you want an all-day adventure.
For those exploring the Many Glacier area extensively, I recommend pairing the Ipasha hike with easier options like Rockwell Falls on different days to balance challenging and moderate outings.
Nearby Attractions Worth Combining
If you’re making the journey to Many Glacier for Ipasha Falls, consider building out a multi-day itinerary:
Same-Day (before or after the hike):
- Many Glacier Hotel for dinner—the Swiss-style architecture and Swiftcurrent Lake views are worth experiencing
- Sunset from the Many Glacier Hotel deck—one of the most photographed spots in the park
Other Days in the Area:
- Piegan Falls via the Siyeh Pass Trail (challenging but incredible)
- Silken Skein Falls if you continue past the Ptarmigan Tunnel
- Oberlin Falls near Logan Pass (easy add-on if driving Going-to-the-Sun Road)
- Boat tour on Swiftcurrent Lake and Lake Josephine (fun rest-day activity)
For those interested in exploring more of Montana’s waterfall treasures, the Morrell Falls hike near Seeley Lake makes an excellent contrast—easier access but still impressive results.
Accommodation Options Near Ipasha Falls
Where you stay significantly impacts your Ipasha Falls experience, particularly given the early start times I recommend.
Many Glacier Hotel
The historic Many Glacier Hotel offers the closest overnight option. Booking here means you wake up at the trailhead area—invaluable for early starts. However, rooms book up 6-12 months in advance, so plan accordingly.
I stayed here during one trip and loved walking to the trailhead at dawn without worrying about parking. The rooms are historic (read: small and basic) but the location can’t be beat.
Swiftcurrent Motor Inn
More affordable than the main hotel, these motel-style rooms and cabins offer the same location advantage. I’ve stayed in both options and honestly found the motor inn more practical—you’re there for the trails, not the room.
Camping
Many Glacier Campground puts you right at the trailhead for about $23/night. Sites are first-come, first-served and fill extremely early in peak season—we’re talking people lining up at 6 AM for sites that open at checkout.
Babb and St. Mary
If Many Glacier options are full (likely), Babb is 12 miles away and offers a few lodging choices. St. Mary has more options about 20 miles from Many Glacier.
The trade-off: you’ll need to drive the Many Glacier Road in early morning darkness to secure parking, which is definitely doable but requires extra planning and earlier wake-up times.
Permits, Fees, and Regulations
Day Hiking
Good news: day hikers don’t need a permit for the Ipasha Falls trail. You do need to pay the park entrance fee ($35 per vehicle for a 7-day pass or $80 for an annual pass).
Backcountry Camping
If you’re considering an overnight trip in the area, backcountry permits are required and can be obtained through the reservation system or at ranger stations. Popular backcountry camps in this area book up quickly.
Leave No Trace
Standard wilderness ethics apply: pack out all trash, stay on established trails, don’t approach or feed wildlife, and respect other hikers’ experiences by keeping noise levels reasonable.
Safety Considerations Beyond Bears
While bears get the most attention, I want to highlight some other safety factors I’ve considered on my Ipasha visits:
Weather: Alpine weather changes rapidly. I’ve started hikes in sunshine and been caught in hailstorms. Always check forecasts and be prepared to turn back if conditions deteriorate.
Stream Crossings: Early season can bring high, fast-flowing water at creek crossings. I carry trekking poles specifically for stability during crossings.
Altitude: At nearly 7,000 feet elevation, some visitors experience mild altitude symptoms, especially if arriving from sea level. Give yourself a day to acclimate if possible.
Navigation: The use trail to Ipasha Falls isn’t as well-marked as main trails. Download offline maps and don’t rely solely on cell service, which is nonexistent in most of the park.
Solo Hiking: I’ve done this hike both solo and with partners. Solo hiking isn’t prohibited but increases risk, particularly in bear country. If hiking alone, be extra vigilant about making noise and carrying bear spray.
My Honest Assessment: Is Ipasha Falls Worth It?
After three visits to Ipasha Falls, here’s my unfiltered opinion:
This waterfall isn’t for everyone, and that’s actually what makes it special.
If you’re looking for an easy waterfall experience, there are better options. Holland Lake Falls or Ousel Falls near Big Sky offer impressive cascades with far less effort.
But if you’re a fit hiker who wants to earn an extraordinary wilderness experience, Ipasha Falls delivers in ways that roadside waterfalls simply cannot. The combination of challenging trail, stunning alpine scenery, abundant wildlife, and a dramatic waterfall creates something genuinely memorable.
My favorite moment at Ipasha wasn’t even the waterfall itself—it was sitting in the mist, looking back at the peaks I’d hiked through, feeling genuinely remote from the modern world. In an era when many natural wonders feel overrun, that solitude is increasingly precious.
Final Preparation Checklist
Before you head out to Ipasha Falls, make sure you’ve:
- Checked trail conditions at the Glacier National Park website or visitor center
- Confirmed your accommodation or camping arrangements
- Purchased bear spray and practiced accessing it quickly
- Packed appropriate layers for alpine conditions
- Brought at least 3-4 liters of water
- Downloaded offline maps of the area
- Told someone your hiking plans and expected return time
- Checked the weather forecast for Many Glacier specifically
- Arrived early enough to secure parking
- Verified your fitness level can handle 9 miles with 2,400 feet of elevation gain
For more waterfall adventures beyond Glacier, check out Kootenai Falls in northwest Montana—it’s one of the largest undammed falls in the state and offers a completely different experience, or consider the remote beauty of Hoodoo Cascade Falls for another backcountry challenge.
Ipasha Falls represents Montana’s wilderness at its finest—challenging, rewarding, and magnificently untamed. Pack your gear, respect the bears, and prepare for an adventure that will stay with you long after you’ve descended back to civilization.
Frequently Asked Questions
Where is Ipasha Falls located in Montana and how do I get there?
Ipasha Falls is located in Glacier National Park along the Ptarmigan Tunnel Trail, accessible from the Many Glacier area. From the Swiftcurrent Motor Inn parking lot, you’ll hike approximately 4.5 miles one-way to reach the falls, with the trailhead starting at an elevation of about 4,900 feet.
How difficult is the hike to Ipasha Falls in Glacier National Park?
The hike to Ipasha Falls is considered moderately strenuous with roughly 2,300 feet of elevation gain if you continue to Ptarmigan Tunnel. I found the trail well-maintained but challenging, especially the switchbacks near the end. Most hikers in reasonable physical condition can complete the round trip in 5-7 hours.
What is the best time of year to visit Ipasha Falls Montana?
The best time to visit Ipasha Falls is mid-July through early September when the Ptarmigan Tunnel Trail is typically snow-free and fully accessible. I recommend visiting in late July or August for optimal waterfall flow from snowmelt while still having safe trail conditions. The Many Glacier Road usually opens in late May, but snow can block higher elevations well into summer.
Do I need a permit or reservation to hike to Ipasha Falls?
You’ll need a vehicle reservation to enter Glacier National Park through the Many Glacier entrance during peak season (typically late May through September), plus the standard park entrance fee of $35 per vehicle. No separate hiking permit is required for day hikes to Ipasha Falls, but I strongly recommend booking your vehicle reservation on Recreation.gov well in advance as they sell out quickly.
What should I bring on the Ipasha Falls hike in Glacier National Park?
Pack bear spray (required carrying in Glacier), at least 2-3 liters of water per person, layered clothing for unpredictable mountain weather, and sturdy hiking boots with ankle support. I always bring a rain jacket even on sunny days since afternoon storms roll in fast, plus plenty of snacks and a basic first aid kit. Trekking poles are incredibly helpful for the steep sections.
Are there grizzly bears near the Ipasha Falls trail and how do I stay safe?
Yes, the Many Glacier area has one of the highest concentrations of grizzly bears in the lower 48 states, so bear encounters are a real possibility on the Ipasha Falls trail. Carry bear spray in an accessible holster, hike in groups, make noise on the trail, and never approach or feed wildlife. I check the Glacier National Park website for recent bear activity reports before every hike in this area.
Can I see Ipasha Falls without hiking the full Ptarmigan Tunnel trail?
Ipasha Falls is visible from the main trail before you reach Ptarmigan Tunnel, so you don’t need to complete the full tunnel hike to enjoy the waterfall. The falls come into view around the 4-mile mark as the trail approaches Ptarmigan Lake. This makes it a great turnaround point if you want a shorter 8-9 mile round trip hike instead of the full 10+ mile tunnel route.